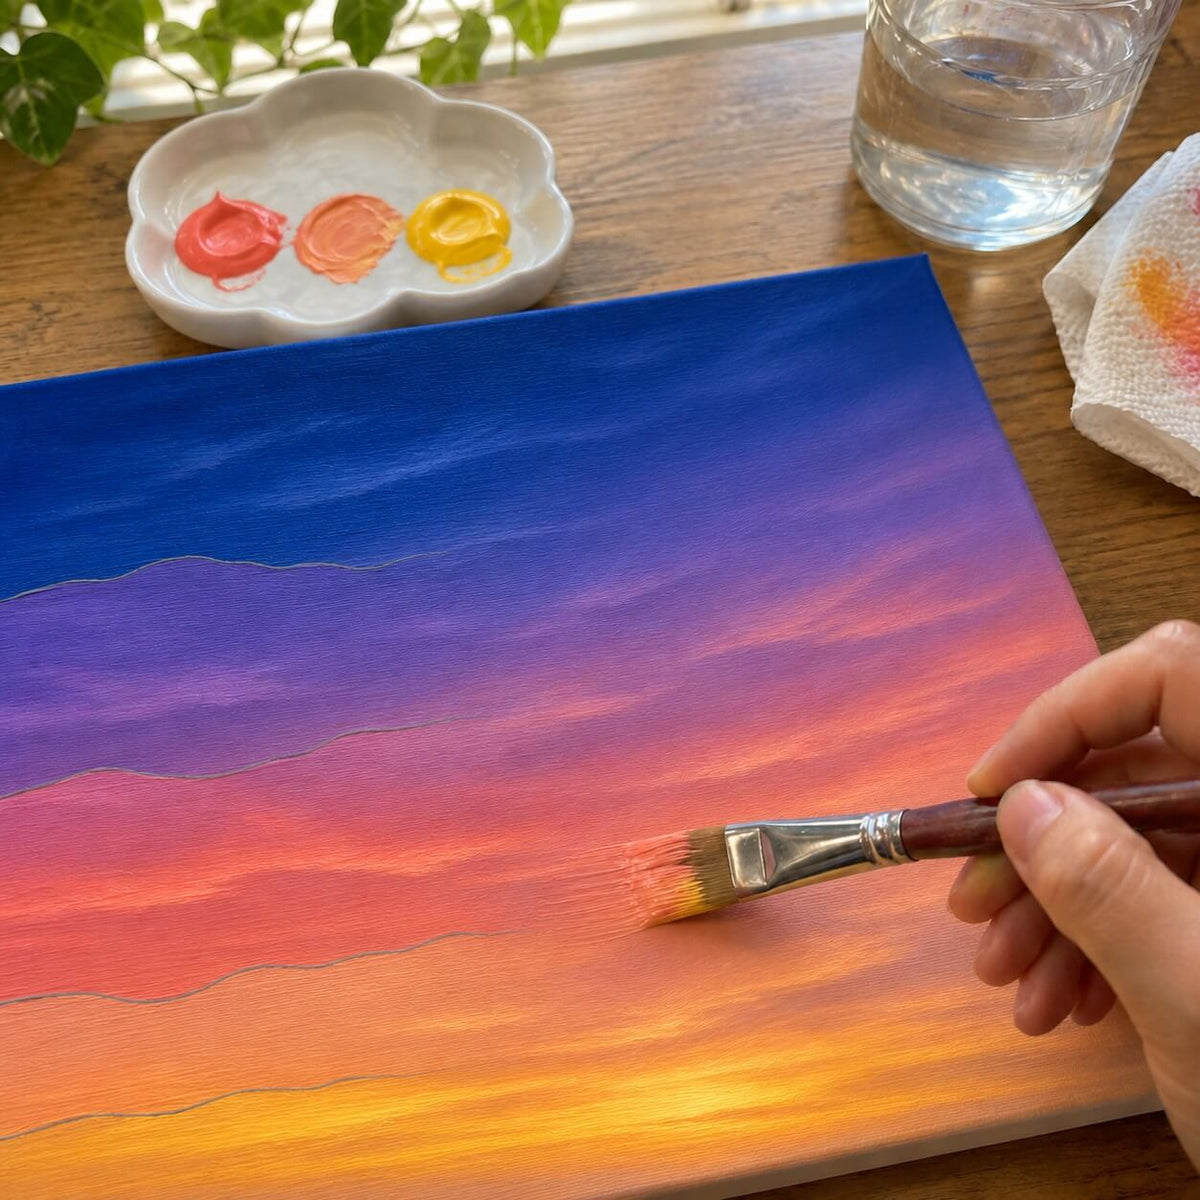

Blending in paint by numbers softens the border between two neighboring numbered areas, so the color changes gradually instead of in a hard step. You can blend while both colors are still wet, or later on dry paint with a color mixed from the two neighbors. Blend only where the real subject has a soft transition, such as a sky, water or shadow, and keep every other edge sharp.
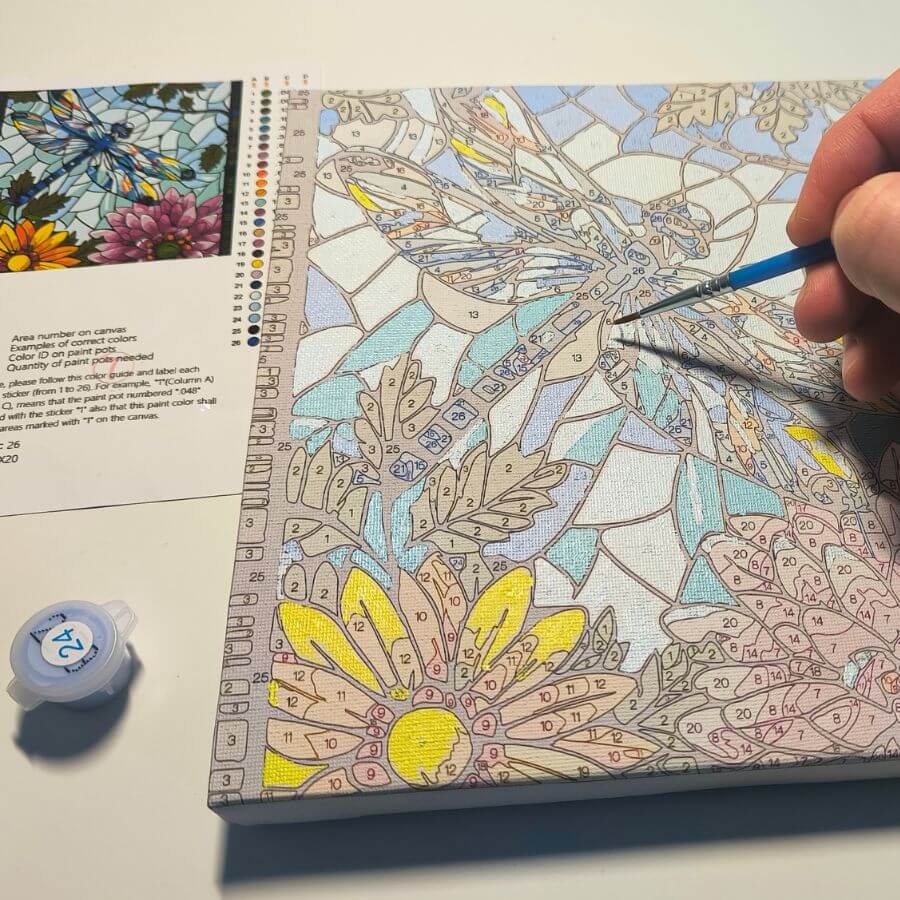
A finished paint by numbers canvas is made of flat patches of pre-mixed color. Blending is not the same as mixing: you don't create new shades, you soften the borders between the ones the design already gives you. That is the main way to make the result look painted rather than filled in.
Where to Blend and Where to Keep Sharp Edges
Before blending any border, ask whether that edge exists in real life. A sky has no line between its blues, but a roof has a clear edge against the sky. Blend the first kind and leave the second alone.
| Subject | Blend or keep sharp? | Best technique |
|---|---|---|
| Sky, sunset | Blend | Wet-on-wet |
| Water, reflections | Blend | Wet-on-wet, horizontal strokes |
| Clouds | Blend the soft side, keep the lit top edge | Dry brush |
| Distant hills, fog | Blend | In-between color |
| Shadows on faces and skin | Blend lightly | In-between color |
| Fur, grass | Blend in the growth direction | Dry brush |
| Petals | Blend inside a petal, keep the outline | In-between color |
| Eyes, buildings, windows, boats, branches, lettering | Keep sharp | None |
Blending every border makes the picture lose its focus. It looks blurred rather than soft.
Before You Blend
Blending works best as a finishing step. Paint every numbered area in its correct color first, then come back to the borders you want to soften.
Pale colors need two coats first. One coat of white, yellow or light blue often lets the printed line and number show, and blending won't hide them. Our guide on how to cover lines and numbers explains how.
Work from the darker side of a border into the lighter one, since dark paint covers light paint easily. This matches the light-first painting order in our guide on how to paint by numbers.
Acrylic starts to set on the canvas within a minute or two, faster in a warm room, so blend one short stretch of a border at a time. For more working time, mix a few drops of acrylic retarder (also sold as extender) into the paint on your palette. Too much leaves the surface tacky for days, so add it a drop at a time. A damp paper towel under a sheet of parchment paper makes a simple stay-wet palette.
Test each technique on the outer edge of the white border first, the part that ends up on the back if you stretch the canvas. Work from small dabs on the palette rather than from the pot, because blending uses a little more paint than filling areas.
4 Blending Techniques
| Technique | Wet or dry paint | Difficulty | Best for |
|---|---|---|---|
| Wet-on-wet | Both colors wet | Medium | Skies, water, sunsets |
| In-between color | Wet or dry | Easy | Hills, skin, petals, any border |
| Dry brush | Dry base | Easy | Fur, grass, clouds |
| Softening dry edges | Dry | Easy | Fixing hard edges after the painting is finished |
1. Wet-on-Wet Blending
Wet-on-wet blending merges two colors while both are still wet. It gives the smoothest gradient and is the classic method for skies.
- Paint a short section of both neighboring areas right up to the shared line.
- Rinse the brush and press it on a paper towel until it is damp, not wet.
- Stroke across the border with light pressure, three or four passes, following the direction of the subject: horizontal for water, along the curve for a sunset.
- Stop while the transition still looks slightly uneven. It evens out as it dries.
Most failed wet-on-wet blends come from too many passes. Overworked acrylic turns gray and chalky, especially where a warm color meets a cool one.
2. Blending With an In-Between Color
This is the easiest method for a first blend, and it works on wet or dry paint. Instead of merging two colors on the canvas, you paint a third tone between them.
- Put a small dab of each neighboring color on the palette and mix a little of both into a middle tone.
- Paint a narrow strip of the middle tone along the border, covering the printed line.
- Soften both edges of the strip with a damp brush, or add a second strip mixed closer to one side for a longer gradient.
A faster version is double loading. Dip one corner of a flat brush in the lighter color and the other corner in the darker one, stroke it back and forth on the palette until a soft middle tone forms in the bristles, then paint along the border with the colors on their matching sides. Reload the same way for every stroke, or the gradient flips.
Watch the width of the strip. If it is too wide, it reads as a separate stripe, so keep it about 1/8 inch (a few millimeters) wide and go wider only on large areas such as skies.
3. Dry Brush Blending
Dry brush blending, also called feathering, breaks a hard edge into fine strokes instead of a smooth gradient. It suits textured subjects.
- Pick up a little paint of one color and wipe most of it off on a paper towel.
- Drag short, light strokes from that area into its neighbor, following the direction of fur, grass or cloud edges.
- Repeat from the other side with the second color if the edge still looks stepped.
Keep the brush almost dry. With too much paint on it, you get solid streaks instead of broken texture.
4. Softening Edges on Dry Paint
Acrylic paint that has already dried can still be blended. This method is useful when you notice hard edges only after the whole painting is finished.
- Thin a small amount of the lighter neighboring color with a drop of water, so it is slightly translucent.
- Brush it lightly over the hard edge with a nearly dry brush.
- Let it dry, check from a distance, and repeat with the darker color if needed.
One drop of water is enough. Paint thinned more than that leaves a pale ring as it dries.
Step by Step: Blending a Sky
A sky is the easiest place to start. Small unevenness disappears in a large area, and the gradient you need is usually clear from the reference sheet.
- Check the reference sheet to see where the sky goes from dark to light, usually from the top down to the horizon.
- Start at the horizon with the two lowest bands. Paint a section about 2–3 inches (5–8 cm) wide of the lighter band, then the same section of the darker band above it.
- Blend their shared border while both are still wet.
- Move sideways to the next section. Overlap it slightly with the last one so no seam forms where the sections meet.
- When the whole border is done, repeat with the next pair of bands up to the top of the canvas.
- Leave clouds for last. Paint them over the dry sky and soften only their lower edges with the dry brush method.
- Let everything dry, then step back about 6 feet (2 meters). Fix any leftover hard edges with an in-between color.
Blending Problems and How to Fix Them
| Problem | Likely cause | Fix |
|---|---|---|
| Muddy or gray transition | Too many strokes, or two warm and cool colors overworked | Let it dry, then repaint both sides and blend with fewer passes |
| Paint turns sticky mid-blend | Acrylic has started to set | Stop, let it dry fully, add a fresh thin layer and blend that. Don't add water. |
| Pale stripe along the border | Brush was too wet | Let it dry, then cover the stripe with an in-between color |
| Printed line still visible | Pale color in one coat | Add a second coat to the pale area before blending again |
| Color spread into the wrong area | Blended across a border that should stay sharp | Let it dry and repaint the area in its numbered color. Check its number on your photo of the blank canvas. |
| Not enough paint left for an area | Several layers of blending | Ask us for free replacement paint |
For problems that aren't specific to blending, see our guide to paint by numbers mistakes and how to fix them. If a color runs out, email support@paintingbynumbersshop.com with your order number, the color number and the design name, and we send replacement paint free of charge.
Which Brush Is Best for Blending?
A soft flat or filbert brush, roughly size 2 to 6, works best because its wide edge sweeps across a border in one stroke. If your kit has no flat brush, use the widest brush you have. Keep one clean brush only for blending, so it never carries dried paint in its base. The smallest round brush is for detail, not for blending. Our article on paint brushes for paint by numbers explains brush shapes and sizes in more detail.
Should Beginners Blend?
Yes, but lightly and at the end. Finish every numbered area first, then choose two or three borders where a soft edge would help, usually the sky. Kits marked Easy have fewer and larger areas, so there is little to blend, which makes paint by numbers for beginners a relaxed way to learn the basics first. Kits marked Moderate and Challenging have many more color transitions, and blending makes the biggest difference there. If you want designs where it pays off, look at our advanced paint by numbers kits.
Frequently Asked Questions
Do you have to blend paint by numbers?
No. A painting with clean, unblended areas is finished and looks the way the design intends. Blending is optional and is used to make skies, water and shadows look more natural.
Can you blend acrylic paint once it's dry?
Yes. Paint a narrow strip mixed from both neighboring colors over the border, or brush a thin layer of one color over the edge with a nearly dry brush.
Can you blend with water?
Only a little. The brush should be damp, not wet. Extra water dilutes the paint, leaves pale stripes and lets printed numbers show through.
Does blending use more paint?
Slightly, because you go over borders more than once. Take small amounts on a palette, and if a color runs short, ask us for replacement paint rather than mixing a substitute.