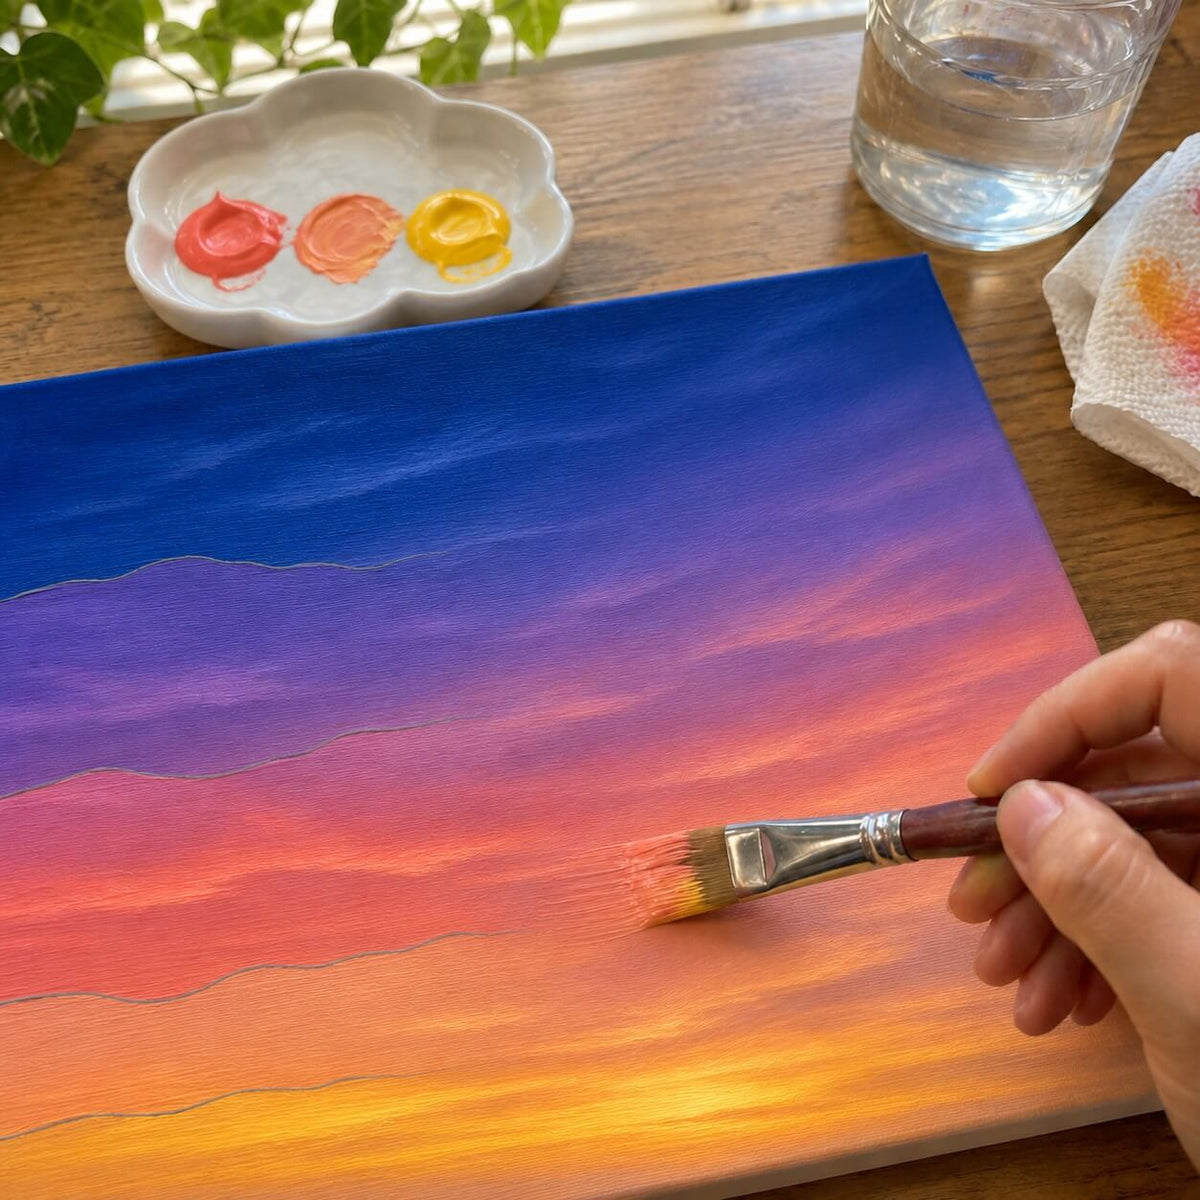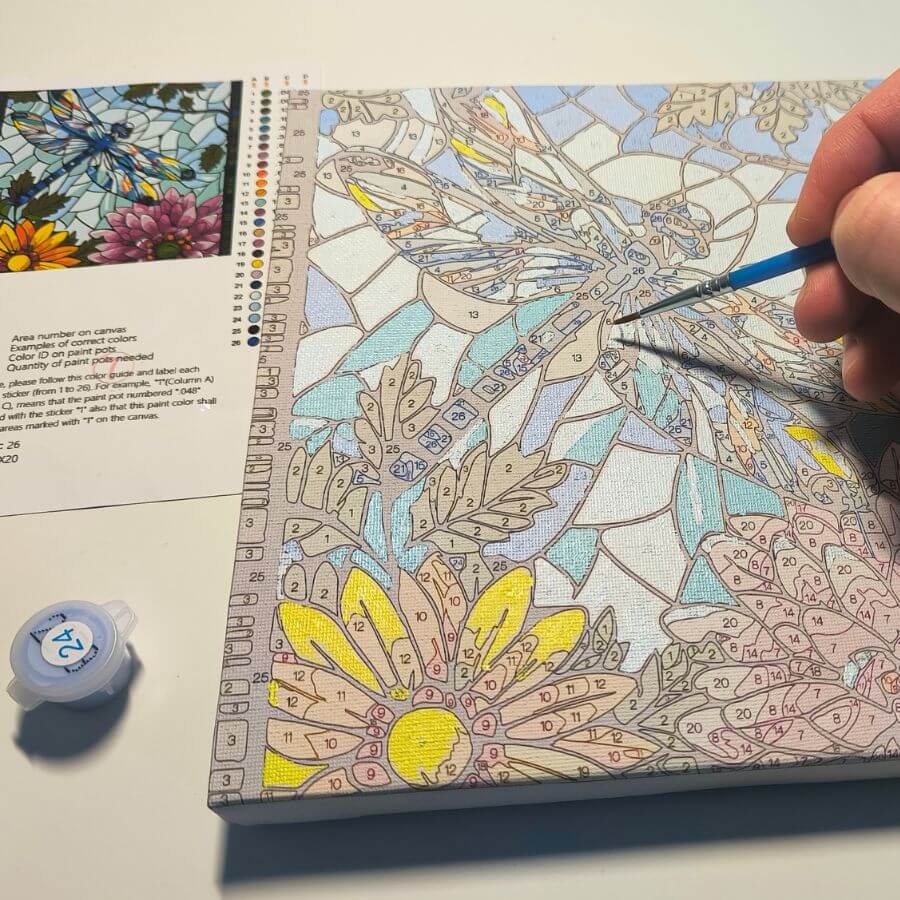

To paint by numbers, match the number on each canvas section with the same number on a paint pot, then fill the section with that color. Start at the top of the canvas, work away from your painting hand, and let neighboring areas dry before your hand or brush touches them. The outlines and colors are already prepared, so you do not need to draw the picture.
The instructions below take you from opening the kit to cleaning, checking, and storing the finished painting.
Paint by Numbers Instructions: 10-Step Checklist
Save or print this checklist before you begin:
- Check the canvas, paints, brushes, and reference image.
- Flatten and secure the canvas.
- Prepare your workspace, water, cloth, and lighting.
- Choose a painting order.
- Stir the first color and load the brush lightly.
- Fill every section carrying that number.
- Clean and reshape the brush before changing colors.
- Let the paint dry, then add another thin coat where needed.
- Correct gaps, visible numbers, and small mistakes.
- Check the finished canvas in daylight and let it dry fully.
What You Need Before You Start
A standard kit includes a numbered canvas, matching acrylic paint pots, brushes, and a reference image. Add a few basic items from home:
| Item | Purpose |
|---|---|
| Two cups of clean water | First rinse in one cup and final rinse in the other |
| Paper towel or lint-free cloth | Blotting water and reshaping the brush tip |
| Toothpicks | Stirring paint and filling isolated dots |
| Neutral-white desk lamp | Distinguishing similar shades and faint numbers |
| Flat board and low-tack masking tape | Holding an unframed canvas flat |
| Old shirt or apron | Protecting clothing from acrylic paint |
For a first project, check the size of the smallest numbered areas rather than judging difficulty by the canvas dimensions. A large canvas with broad sections may be easier than a small canvas filled with tiny shapes. Our easy paint by numbers kits use clearer subjects and larger painting areas.
Step 1: Check the Kit and Paint
Before painting, confirm that the canvas, reference image, brushes, and all numbered paint pots are present. Match the pot numbers with the color key so you do not discover a missing color halfway through the project.
Open one pot at a time and keep it upright. Stir paint that has separated with a clean toothpick. Usable acrylic paint should be smooth enough to spread without running. Close every lid firmly after checking it.
If paint is slightly thick but still soft, stir it before adding anything. When thinning is necessary and the paint instructions permit water, begin with a very small drop, mix thoroughly, and test it. Too much water reduces opacity and makes the printed numbers harder to cover. Solid, rubbery, or cracked acrylic paint should be replaced rather than diluted.
Step 2: Flatten and Secure the Canvas
An unframed canvas is easier to paint when it lies flat and cannot move under the brush. Place it under clean, evenly distributed weight until the rolled edges relax, then tape the margins to a firm board.
Avoid strong heat or moisture unless the canvas supplier specifically confirms that the printed and primed surface can tolerate it. Heat can affect the coating or printed lines.
If the canvas arrived stretched on a wooden frame, place it flat on a table for your first painting. A flat position supports your hand and is usually easier to control than an upright easel.
Step 3: Set Up the Workspace
Use daylight or a neutral-white lamp. Position the lamp on the side opposite your painting hand so your hand does not cast a shadow over the section you are filling.
Cover the table, arrange the closed paint pots in number order, and keep the reference image beside the canvas. Open only the color you are using. Small acrylic pots lose moisture quickly when left open.
Step 4: Choose Your Painting Order
There is no single compulsory order, but a consistent system prevents smudges and reduces unnecessary cleaning.
Work From the Top and Away From Your Painting Hand
Right-handed painters can begin near the top-left corner and move toward the bottom-right. Left-handed painters can begin near the top-right and move toward the bottom-left. This keeps your hand over unpainted or dry canvas.
Paint Color by Color
For most of the canvas, complete every visible area carrying one number before opening the next pot. This reduces brush washing and limits the time each pot remains open.
For faces, eyes, lettering, and other detailed zones, working section by section can be easier. Complete one small area using several colors, then move to the next. Many painters combine both methods.
Should You Paint Light or Dark Colors First?
| Order | Advantage | Risk |
|---|---|---|
| Light colors first | A later dark neighbor can cover a small slip at the border | The composition develops more slowly |
| Dark colors first | The main shapes appear quickly | A dark slip into a pale area may require several coats to hide |
Where a very light area touches a dark one, painting the light section first is usually safer. In other areas, use the order that helps you follow the design.
Step 5: Load the Brush and Apply the Paint
- Stir the paint gently.
- Dampen the brush, then blot it. The bristles should be damp, not wet.
- Dip only the tip into the paint. Avoid pushing paint into the metal ferrule.
- Begin in the middle of a numbered area and guide the paint toward the edges.
- Cover the printed boundary carefully enough to avoid a white gap between neighboring colors.
- Close the pot before changing to another color.
Use a pointed detail brush for eyes, branches, and narrow shapes. A small round brush handles most numbered areas, while a small flat brush is faster on broad backgrounds. Brush numbers are not standardized between manufacturers, so compare the actual point with the section you need to fill.
Use enough paint to cover the canvas texture without leaving a raised puddle. A thick coat dries slowly and is more likely to form ridges.
Step 6: Clean the Brush Between Colors
Rinse the brush whenever you change colors and during long periods of painting with one color. Acrylic can begin drying inside the bristles while you work.
Rinse first in the dirtier cup, then in the clean cup. Blot the brush and gently shape the bristles back into a point. Never leave a brush standing on its bristles in water because the tip can bend permanently.
Step 7: Let Neighboring Areas Dry
Acrylic begins losing its workable wet edge within minutes, but a thin layer often takes about 10–20 minutes to become dry to the touch. Temperature, humidity, paint thickness, and the paint formula can make the time shorter or longer.
While one section dries, work on areas that do not touch it. If the paint feels tacky or starts lifting under the brush, stop and let it dry. Brushing partially dried acrylic creates a rough surface.
Step 8: Cover Visible Numbers and Thin Areas
White, yellow, cream, skin tones, and light blue often need more coverage than darker shades. Let the first coat dry, then apply another thin coat only where the printed number or canvas texture remains visible.

Two thin coats normally produce a cleaner surface than one heavy coat. Some very pale sections may need a third coat. Do not try to hide the print by flooding the area with paint.
Step 9: Fix Gaps and Small Mistakes
| Problem | What to do |
|---|---|
| Wet paint in the wrong section | Rinse and blot the brush, then lift the paint with the damp tip without rubbing |
| Dried paint in the wrong section | Let it dry completely and cover it with the correct color |
| Small white gaps | View the canvas under light from the side and touch up the visible specks |
| Streaks or brush marks | Apply one thin, even coat after the area has dried |
Keep nail-polish remover and other solvents away from the canvas because they may damage its printed or primed surface. For less common problems such as mixed-up numbers, spilled water, or the wrong color, use the detailed guide to paint by numbers mistakes and fixes.
Step 10: Check the Finished Painting
Let the final corrections dry and inspect the painting in daylight. First view it from one or two meters away, then check it closely against the reference image.
Look for missed sections, visible numbers, white gaps, uneven coverage, and borders that change an important shape. Pay particular attention to eyes, faces, lettering, and other focal details.
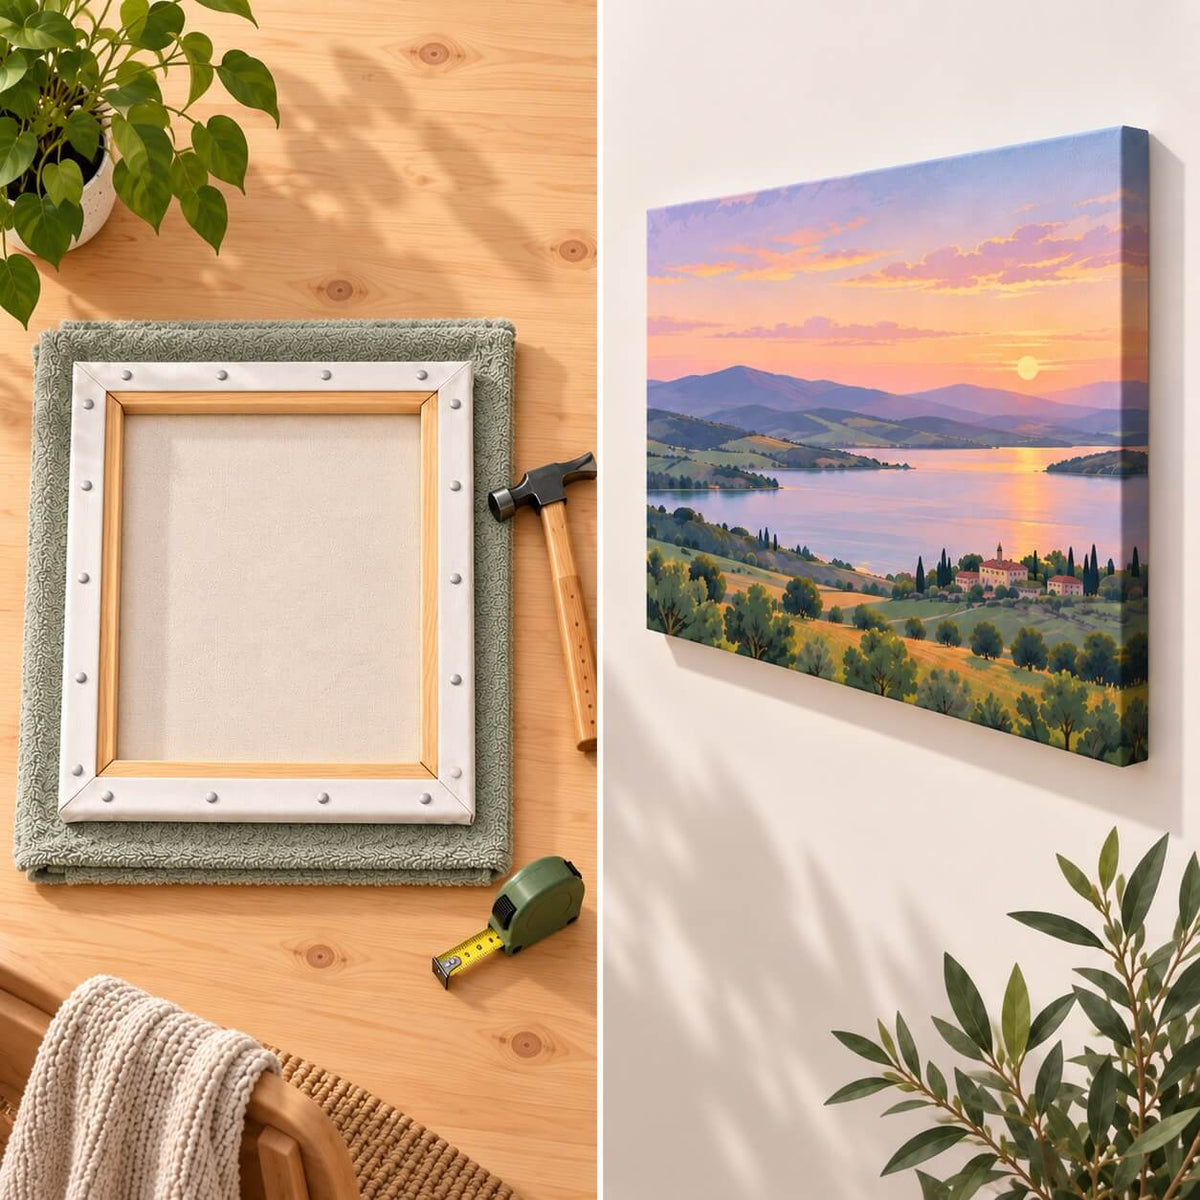
When the painting is complete, allow it to dry fully before stretching, framing, stacking, wrapping, or varnishing it. Touch-dry paint is not necessarily ready for pressure or a final coating.
How to Pause and Store an Unfinished Painting
Use this routine whenever you stop for the day:
- Close every paint pot until the lid clicks.
- Wipe dried paint from the pot rims so the lids can seal.
- Store the pots upright in a cool place away from sunlight and heaters.
- Wash the brushes, reshape the tips, and let them dry flat.
- Keep the canvas flat and protect it from dust without placing paper on wet paint.
- Mark the last completed color on a separate note or take a photo.
Frequently Asked Questions
Where should a beginner start?
Begin in the top corner opposite your painting hand. Start with several medium-sized sections before attempting the smallest details.
Is paint by numbers difficult?
The process is beginner-friendly because the drawing and color placement are prepared. Difficulty depends mainly on the size and number of sections, the similarity between colors, and the number of coats required.
Do you have to follow the numbers exactly?
Follow them for the first coat because they create the planned shading and shapes. After the canvas is complete, you can add subtle highlights or soften selected borders if you want a less segmented finish.
Should paint by numbers paint be thinned?
Not automatically. Stir the paint first. If it remains thick but soft, add only a very small amount of water when permitted by the paint instructions, mix it thoroughly, and test the coverage before adding more.
Do you paint over the printed lines?
Cover the boundary carefully enough that no white line remains between neighboring sections. Avoid extending so far that you change the shape of the next area.
How long does the paint take to dry?
A thin acrylic layer often becomes touch-dry in about 10–20 minutes, but the conditions and paint thickness change the timing. The completed painting needs longer before framing pressure, wrapping, or varnishing.
How long does a complete painting take?
A simple small kit may take a few hours, while a detailed standard or custom canvas can require 20–40 hours or more. Section density, faces, color changes, and extra coats affect the time more than canvas dimensions alone.
What should you do if a color runs out?
Contact the seller with the order number, design name, and paint number. A replacement pot is safer than mixing a substitute for a large or visually important section.
Ready to choose a project? Browse our paint by numbers kits by subject, size, and difficulty.