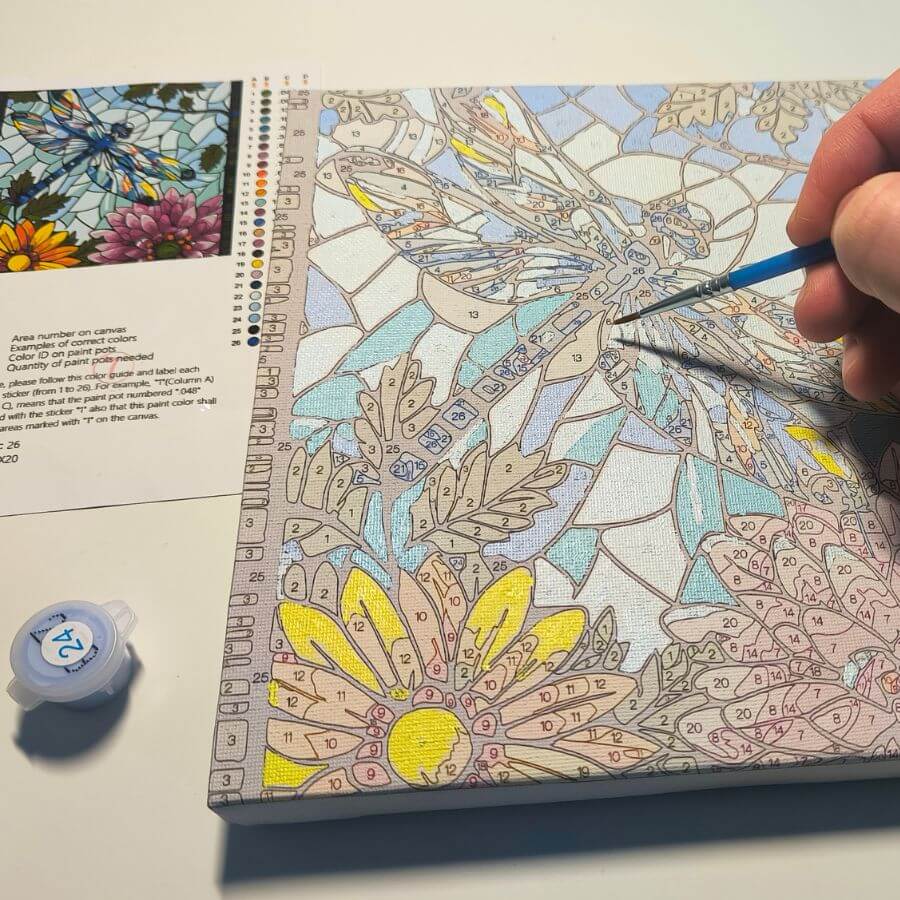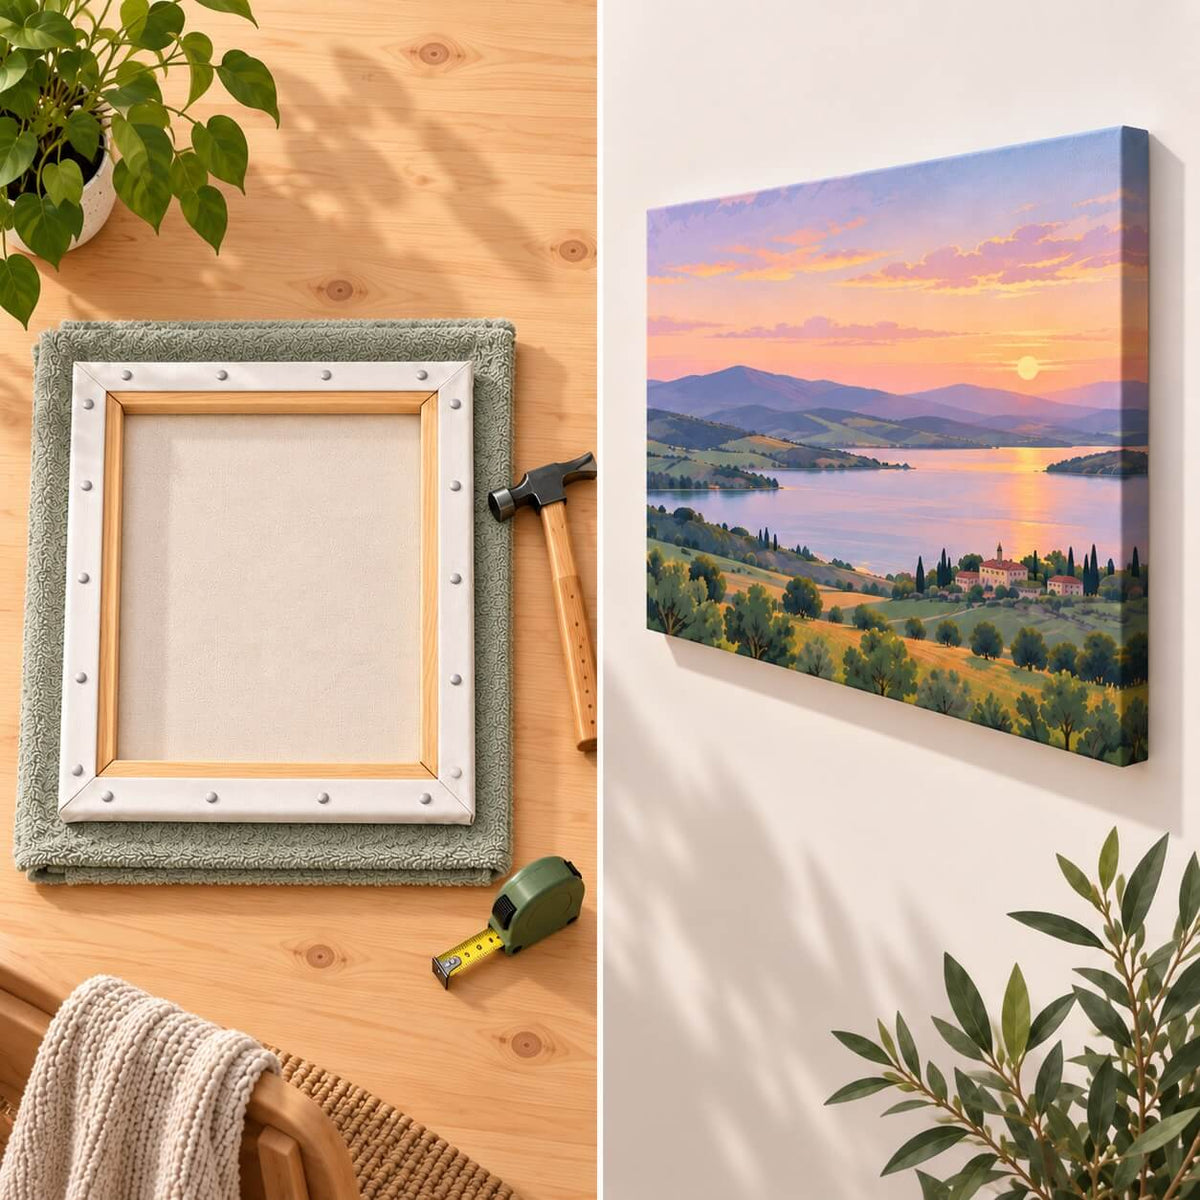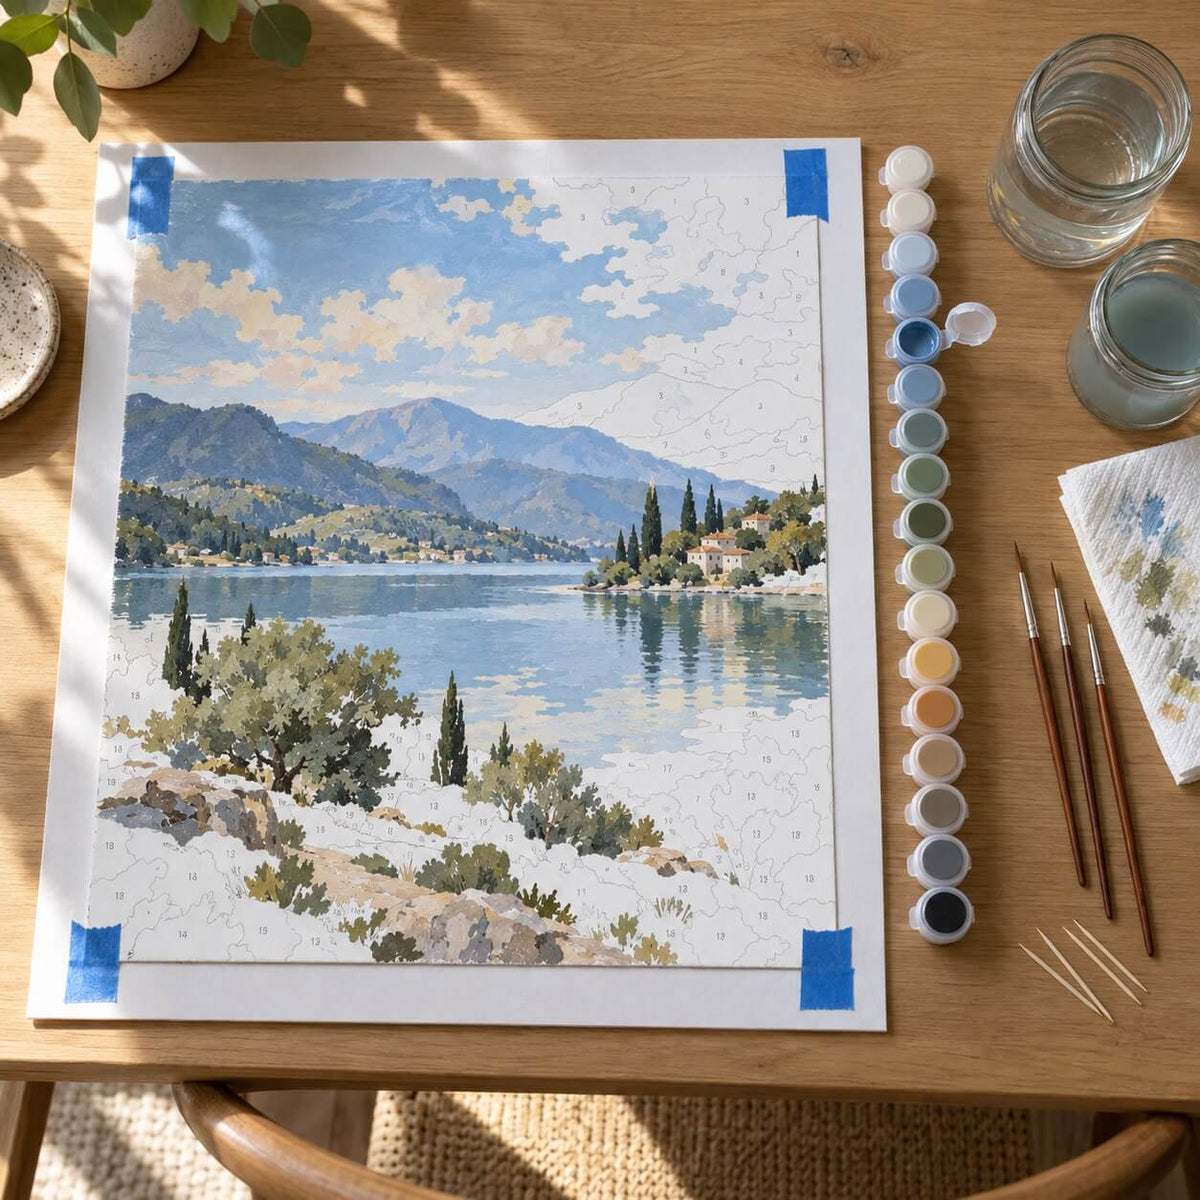

A finished rolled paint by numbers can be framed in two ways: stretch the canvas over a wooden stretcher frame, or place it in a standard picture frame. The third option is decided before you paint: order the kit on a pre-framed canvas. Whichever you choose, wait until the paint is completely dry before framing, and longer if you plan to varnish it. Stretching on a DIY wooden frame gives the clean "gallery" look most painters want and takes about 15–20 minutes.
Ways to Frame a Paint by Numbers
| Method | Look | What you need | Best for |
|---|---|---|---|
| DIY wooden stretcher frame | Canvas wraps around the sides, no border | Pre-cut wooden bars and pins (included in our kit) | Rolled canvases, modern look |
| Standard picture frame | Classic frame, optional glass and mat | A frame in the right size, tape | Traditional interiors, extra dust protection |
| Pre-framed canvas (chosen when ordering) | Canvas already stretched on a wooden frame | Nothing, it arrives ready to paint and hang | Your next kit, if you want no framing work |
Before You Frame
Let the painting dry fully. Acrylic feels dry to the touch in minutes, but thicker and multi-coat areas stay soft underneath for longer, and stretching can crack or mark them. If you want to varnish and plan to use a wooden stretcher frame, stretch the canvas first and varnish it afterwards, because stretching bends the painted edges and can mark a fresh varnish layer. For a picture frame, varnish first and let it cure fully before the painting goes behind glass. Our guide on how to seal a paint by numbers painting explains when it's safe.
A rolled canvas can also keep light creases from shipping. Stretching removes most of them, but deep folds are easier to remove from the canvas before you start.
Finally, check the white border around the painted area. On our canvases it is more than 3 cm wide, which is enough to wrap around the sides of a wooden frame and fasten at the back.
Method 1: Stretch the Canvas on a DIY Wooden Frame
A stretcher frame is four wooden bars that slot together into a rectangle. The canvas is pulled over the frame and fastened on the back, so the painting sits flat and taut with nothing covering its edges.
What You Need
- a DIY wooden frame kit with pre-cut bars in the size of your canvas and the pins to fasten it (short pins with a flat head, included in the kit)
- a clean towel or soft cloth
- a small hammer (recommended for the pins and for tapping the corners together)
- optional: a tape measure
Our DIY frame kit comes in 40 × 40, 40 × 50, 40 × 60 and 50 × 50 cm, matching the canvas sizes of the same name.
Step 1: Assemble the Frame
Slot the ends of the pre-cut bars into each other at the corners, first into two L shapes, then into a rectangle. Press each corner firmly together, or tap it gently with the hammer, until the joint closes with no gap.

Then check that the frame is square: measure both diagonals, corner to corner. If the two numbers match, the corners are at 90°. If they don't, push the longer diagonal in slightly until they do. A frame that isn't square makes the picture look crooked on the wall.
Step 2: Position the Canvas
Spread the towel on a table and lay the painting face down on it. Place the frame on top, centered, so the edge of the painted area lines up with the outer edge of the frame on all four sides. The white border should stick out evenly around it.

Step 3: Fasten the Middle of Each Side
Fold the canvas over the middle of one long side and fasten it to the back of the bar with one pin. Tap it in with a small hammer: it goes in straighter and holds better. Pushing with your thumb works too if you have no hammer. Pull the opposite side gently tight and fasten its middle too. Repeat with the two short sides. These first four points set the tension for the whole painting.

Step 4: Work Out Toward the Corners
Add pins every 5–8 cm, always on alternating sides: one on the top, one on the bottom, then the left and right. Pull the canvas firmly but not so hard that the painted outlines start to bend. Stop about 5 cm before each corner.
Step 5: Fold the Corners
The corners are the only place where the canvas has too much material, so fold them like wrapping a gift:
- Pull the corner tip toward the center of the frame. Take the loose point of canvas at the corner and pull it diagonally over the back of the frame, then pin it to the corner of the frame. This tightens the canvas across the corner edge.
- Tuck in one side. On one side of the corner, fold the loose canvas inward so it lies flat against the back of the bar. A small diagonal crease forms on the side of the frame.
- Fold the other side over it. Fold the canvas from the other side over the tucked layer, so the folded edge lines up exactly with the corner edge of the frame. From the side, you should see one clean, straight line running down the corner.
- Pin through the folded layers on the back. One or two pins hold the fold in place. Keep the pins on the back of the frame, not on the side where they would show.
Fold all four corners in the same direction, for example always tucking the short side under the long side, so they look identical when the painting hangs. If a corner feels too bulky to lie flat, trim a little of the tucked canvas with scissors, well away from the painted area.

Step 6: Check the Tension
Turn the painting over. The surface should be flat with no ripples, and a light tap should sound like a drum. If one area is loose, remove the nearest fasteners, pull that section a little tighter and fasten it again.
If you'd like no white canvas to show on the sides, you can paint the border with the neighboring colors before stretching. Step 2 of our guide on how to paint by numbers explains when to do it.
Method 2: Use a Standard Picture Frame
A picture frame works well if you prefer a classic look or want glass in front of the painting. A 40 × 50 cm painted area is close to, but not exactly, 16 × 20 inches (40.6 × 50.8 cm), one of the most common frame sizes. Measure your painted area and the frame opening before you buy: the frame's inner lip covers a few millimeters of the edge, so a small difference is usually fine.
- Open the frame by bending back the clips and removing the backboard.
- Clean the glass, if the frame has one, and let it dry.
- Fold the white border of the canvas behind the painted area, or trim it if it's too bulky, so the painting fits the opening.
- Tape the folded edges to the back of the canvas, and tape the corners to the backboard so the painting can't slide.
- Put the backboard in place and close the clips.
Glass or No Glass?
Glass protects the painting from dust and kitchen fumes, but it reflects light and hides the brush texture that makes a painted canvas look handmade. A varnished painting is protected well enough to go without glass in most rooms. If you do use glass, keep it from touching the paint: a mat or thin spacers between the glass and the canvas prevent the acrylic from sticking to the glass over time.
Add a Mat for Uneven Edges
If the edges of the painted area are uneven, a mat (a card border between the frame and the painting) hides them and makes a smaller painting look larger on the wall.
Next Time: Order a Pre-Framed Canvas
A pre-framed canvas is stretched on a wooden frame before you paint it. Many of our paint by numbers kits can be ordered this way, mounted on a 1.5 cm deep frame and ready to hang when you finish, with no assembly. It saves you the fiddly parts of stretching: getting the tension even, folding neat corners and fixing ripples. If this is your first kit, or you already know you want to hang it straight away, it is the least stressful option. The canvas is firm to paint on, but it can't be laid completely flat against a table like a rolled canvas. If you're still choosing, our guide to rolled, DIY-framed or framed canvases compares the options.
How to Hang Your Framed Painting
- Sawtooth hanger: screwed or nailed to the top bar on the back, centered. Good for light and medium canvases on one nail.
- D-rings and picture wire: one ring on each side bar about a third of the way down, with wire between them. The painting hangs straighter and can be leveled easily.
- Adhesive picture-hanging strips: for light stretched canvases on smooth walls where you don't want holes. Check the weight limit on the package.
Hang the painting with its center at about 145–150 cm from the floor, roughly eye level. Avoid walls that get direct sunlight for hours a day, as strong light fades acrylic colors over time.
Common Framing Problems and Fixes
| Problem | Cause | Fix |
|---|---|---|
| Canvas sags or ripples | Uneven tension, or too few fasteners | Remove the fasteners near the loose area, pull tighter, fasten again |
| White canvas shows on the front edges | Canvas not centered on the frame | Re-position so the painted edge lines up with the frame edge |
| Picture looks crooked | Frame not square | Measure the diagonals and adjust before fastening |
| Bulky, uneven corners | Too much canvas folded in | Trim a little excess from the corner flap before folding |
| Wave along one side | That side was fastened before the opposite side | Always fasten opposite sides in pairs |
Can You Frame a Paint by Numbers Before Painting It?
Yes. Some painters stretch the canvas first because a tight canvas is firm under the brush and doesn't move. The downside is that you can't rest your hand flat on the table as easily, and small areas near the edges are harder to reach. For a first kit, painting flat and framing afterwards is usually more comfortable.
Frequently Asked Questions
Do you have to frame a paint by numbers?
No. A frame makes the painting flat, protects the edges and makes it easier to hang, but you can also display it unframed.
How can I display a paint by numbers without a frame?
Use a wooden poster hanger that clamps the top and bottom edges, bulldog clips on a nail, or washi tape on a smooth wall. Store or hang the canvas flat, because rolling a painted canvas again can crack the paint.
What size frame fits a 40 × 50 cm paint by numbers?
A 40 × 50 cm DIY stretcher frame for a wrapped canvas, or a 16 × 20 inch picture frame if you fold the border behind the painting. Check the frame opening against your painted area before buying, since 16 × 20 inches is about 40.6 × 50.8 cm.
How long should I wait before framing?
At least a day after your last brushstroke, and longer after thick coats or varnish. Press gently on the thickest area: if it still feels soft or cool, wait.
Can I re-stretch a sagging canvas?
Yes. Remove the fasteners on the loose side, pull the canvas tighter and fasten it again, working from the middle toward the corners.