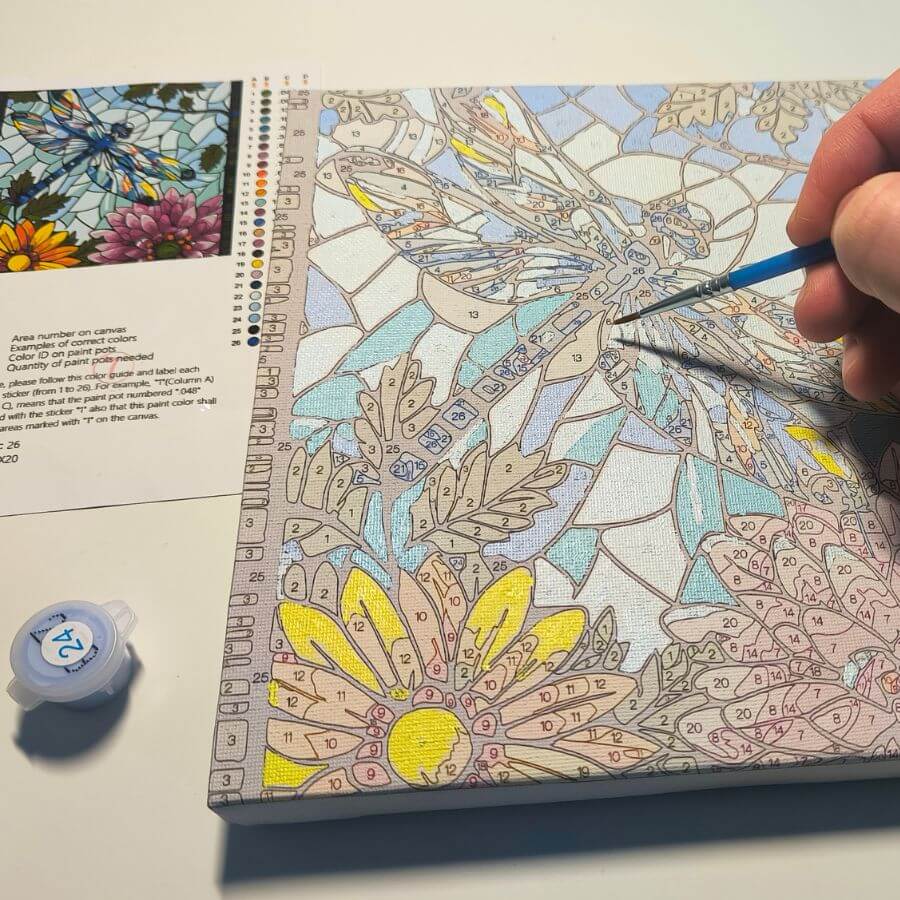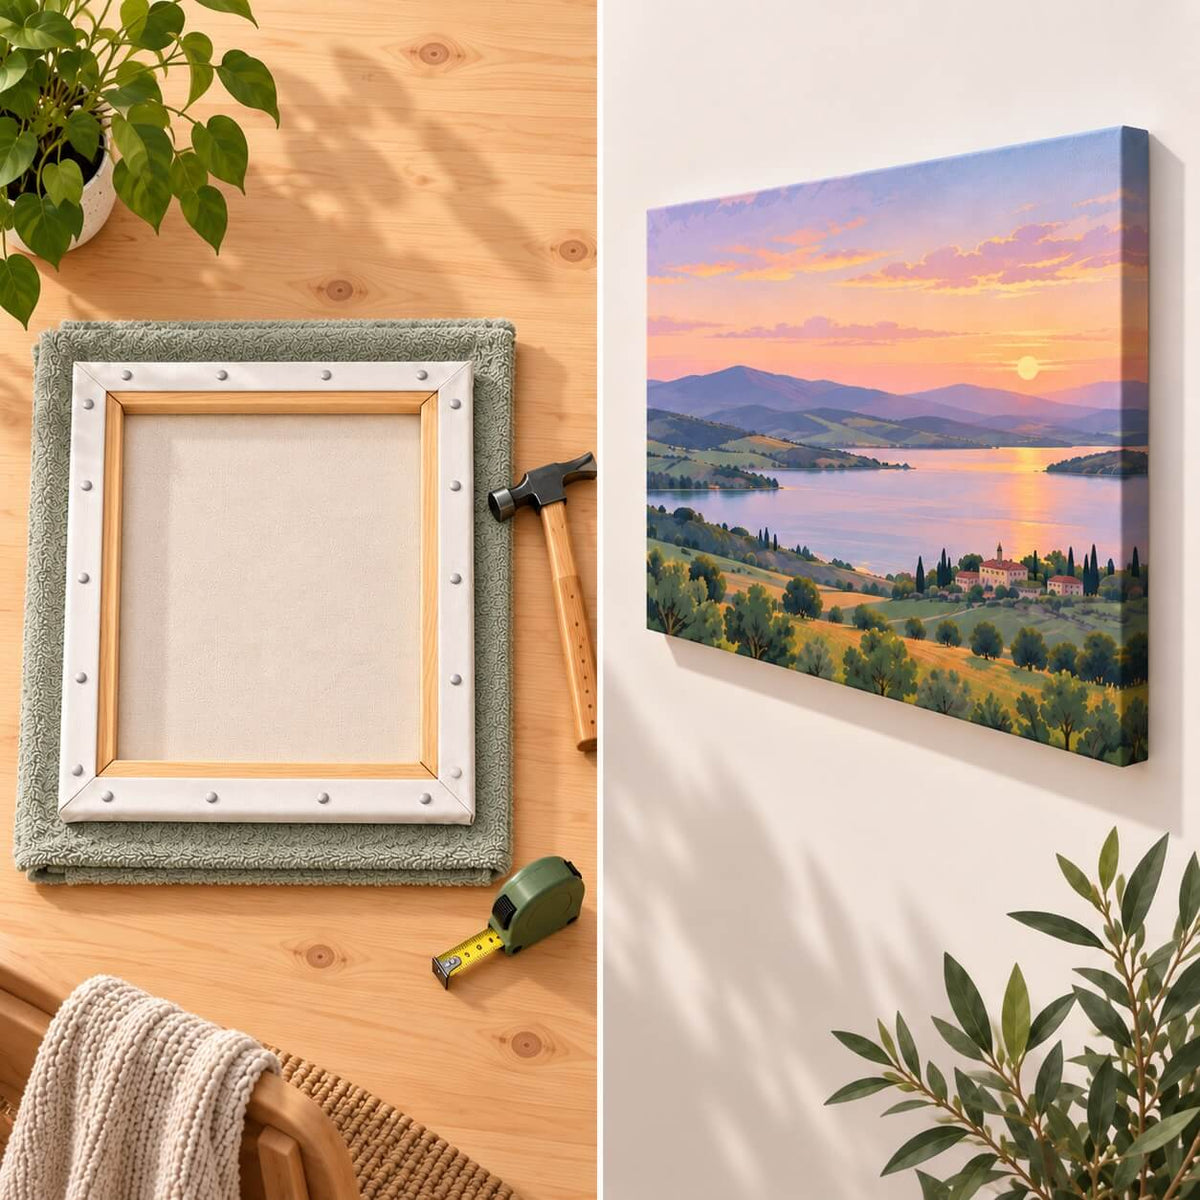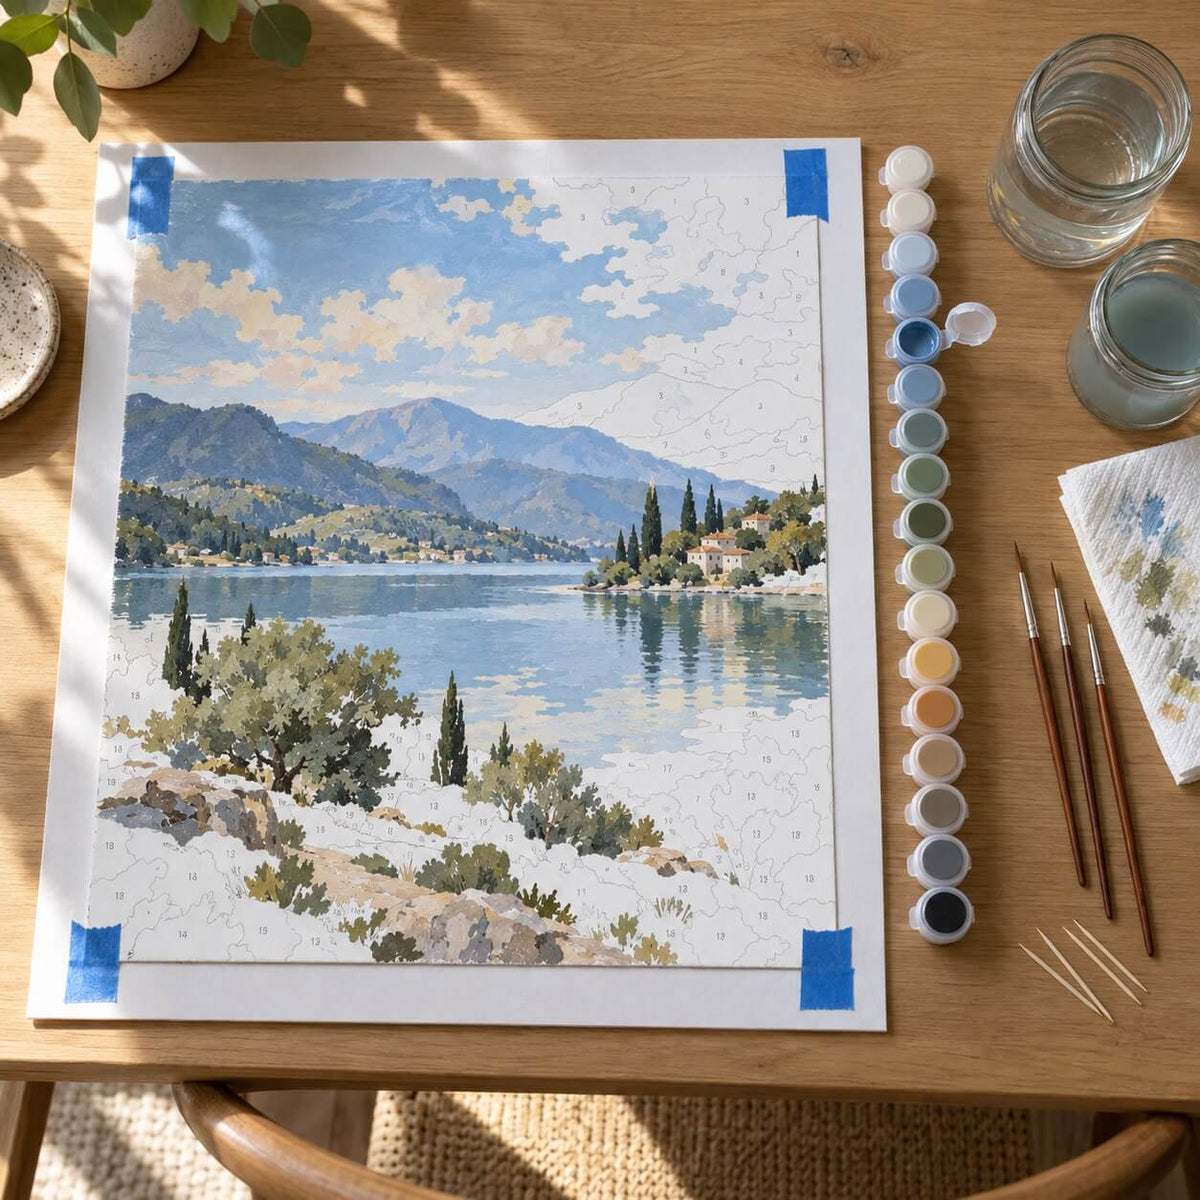

Sealing a painting completed with one of our paint by numbers kits is optional. A clear varnish can protect the surface from dust, dirt, moisture, and light handling, while also evening out areas that dried with different levels of shine.
The result depends less on the number of coats and more on preparation. Let the acrylic paint dry fully, remove dust and loose fibers, and choose a clear product labeled for acrylic artwork or canvas. Keep the painting flat while you work.
Should You Seal a Paint by Numbers Painting?
You may want to seal the painting when:
- it will be displayed without glass;
- dust can settle directly on the surface;
- the canvas will be handled or transported;
- matte and glossy areas look uneven;
- you want a specific matte, satin, or gloss finish;
- the painting will hang in a room with changing humidity.
Sealing is often unnecessary when the painting will sit behind glass or remain in a clean, dry room.
Finished custom paint by numbers portraits are often displayed as personal keepsakes, especially when they feature pets, family members, or wedding photos. If the canvas will hang without glass or be handled during framing, a suitable acrylic varnish can add protection and help even out the final sheen. Sealing is still optional, and the same drying and testing rules apply as with standard kits.
It is also better to leave a painting unsealed than to use an unsuitable household coating. Products made for furniture, hair, or general DIY work may remain sticky, change the colors, or react badly with acrylic paint.
What Is the Best Sealer for Paint by Numbers?
A clear acrylic varnish made for finished acrylic artwork is usually the most predictable option.
The two main choices are brush-on varnish and spray varnish. Both can work well, but they behave differently during application.
Brush-On Acrylic Varnish
Brush-on varnish gives you more control over where the product goes. It works best on a flat canvas with a relatively smooth painted surface.
Use a wide, soft brush that is clean and completely dry. Apply long strokes in one direction and avoid returning to an area once the varnish has started to set.
Small brushes are not ideal for this job. They require more overlapping strokes, which makes streaks and uneven shine more likely.
Brush-on varnish can also collect slightly around raised paint edges. This is usually more visible in sections that received several coats, such as pale areas where the printed numbers needed extra coverage.
Spray Acrylic Varnish
Spray varnish creates a fine mist and does not leave brush marks. It can be useful when the painting has visible texture or uneven paint thickness.
Apply it in a well-ventilated space and follow the safety instructions on the can. Hold the spray at the recommended distance and move continuously across the canvas.
Starting and stopping directly above the painting can create darker or wetter spots. Begin slightly outside one edge and continue past the opposite side.
Spray varnish also creates overspray, so protect a larger area than the size of the canvas.
Can You Use Mod Podge?
Some Mod Podge products can be applied over acrylic paint, but the exact formula matters. Brush-on decoupage finishes and clear acrylic spray sealers are different products.
A dedicated artist acrylic varnish is usually a better choice for wall art because its final appearance is more predictable. Some craft coatings may remain tacky in warm or humid conditions.
Always check the label. A product being clear does not automatically mean it is suitable for a finished acrylic painting.
Matte, Satin, or Gloss Varnish?
The finish affects glare, color depth, and the overall appearance of the completed canvas.
Matte Varnish
Matte varnish reduces reflections and keeps the painting close to the appearance of an unsealed canvas. It works well in bright rooms where glare could hide smaller details.
Too much matte varnish can make dark areas look flatter or leave a cloudy cast.
Satin Varnish
Satin creates a soft sheen without the stronger reflections of gloss. It is a balanced option for landscapes, animals, flowers, and portraits.
It also helps unify the surface when some colors have dried slightly shinier than others.
Gloss Varnish
Gloss varnish can make colors appear deeper and increase contrast. Dark blues, greens, reds, and black areas may look more saturated after sealing.
The trade-off is reflection. A gloss finish can be distracting when the painting hangs opposite a window or lamp.
How Long Should Paint by Numbers Dry Before Sealing?
Do not apply varnish as soon as the painting feels dry to the touch.
Acrylic paint dries from the surface inward. Areas with several coats can remain softer than thinly painted sections, even when both feel dry on top.
For the thin layers normally used in paint by numbers, waiting several days is safer than sealing after only 24 hours. Allow more time when:
- several coats were used;
- the paint was applied thickly;
- the room is cool or humid;
- large areas still feel slightly soft;
- acrylic medium was added;
- final corrections were completed recently.
Pale colors often receive more layers because they may not cover the printed canvas immediately. Check these areas carefully before sealing.
Always follow the drying time stated on the varnish label.
What You Need
Prepare:
- a fully dry painting;
- clear acrylic varnish;
- a wide, soft brush if using liquid varnish;
- a clean lint-free cloth or soft dusting brush;
- a protected flat work surface;
- good ventilation;
- a mask when required for spray varnish;
- a small painted surface for testing.
If the canvas is rolled, flatten it before applying varnish. Creases can become harder to correct once the surface has been sealed. Follow our guide to getting wrinkles out of a paint by numbers canvas before stretching or varnishing it.
If you plan to stretch the canvas over wooden bars, it is usually easier to do so before sealing. Stretching changes the tension of the canvas and may bend the painted surface around the edges.
How to Seal a Paint by Numbers Painting Step by Step
1. Complete the Painting and Make Final Corrections
Check the canvas under good lighting.
Look for:
- missed sections;
- visible numbers;
- thin or transparent paint;
- uneven edges;
- accidental marks;
- loose brush fibers;
- areas that need another coat.
Check pale sections from a slight angle rather than only from directly above. Printed numbers and gray lines are sometimes easier to notice when light moves across the surface.
Correct these areas before sealing. Later changes become harder once varnish covers the paint.
If light colors do not fully hide the printed canvas, use the methods in our guide to covering paint by numbers lines and numbers.
Let every correction dry completely.
2. Remove Dust and Loose Fibers
Place the painting flat on a clean surface.
Use a dry, lint-free cloth or a very soft brush to remove dust, pet hair, loose bristles, and other small particles.
Do not press hard. A loose fiber can usually be lifted away, while rubbing may push it into paint that has not fully hardened.
Avoid cleaning the painting with water unless the varnish instructions specifically require it.
3. Test the Varnish
Apply a small amount to a spare painted sample or an inconspicuous edge.
Check whether it changes:
- dark colors;
- pale colors;
- surface shine;
- visible paint texture.
Some varnishes look milky during application but become clear as they dry. Judge the test only after it has dried fully.
A test is especially useful with matte varnish because clouding is much easier to prevent than to correct.
4. Place the Canvas Flat
Varnish the painting horizontally on a stable work surface.
A vertical canvas is more likely to develop runs and drips. Choose a clean room away from open windows, fans, pet hair, and airborne dust.
Strong airflow may help a room feel ventilated, but it can also carry particles onto the wet surface. For spray varnish, ventilation should come from a safe open area rather than a fan aimed at the canvas.
5. Apply the First Thin Coat
For brush-on varnish, pour a small amount into a clean container. Load the brush lightly and apply long, even strokes in one direction.
Move steadily across the canvas. Do not keep correcting small areas after the varnish begins to set.
Watch the edges of the painting. Excess product can collect there and form visible ridges or drops.
For spray varnish, begin slightly outside one edge and continue past the opposite side. Use light, overlapping passes and keep the can moving.
The surface should look evenly coated, not visibly wet or flooded.
6. Let the First Coat Dry
Leave the painting flat in a clean area.
Do not touch the surface repeatedly to check it. Fingerprints and pressure marks can remain visible while the coating is still soft.
Wait for the time stated on the product label before adding another coat.
7. Apply a Second Coat if Needed
One even coat may be enough. Apply another coat only when the first layer has missed areas or left an inconsistent sheen.
Change the direction of application:
- apply the first coat horizontally;
- apply the second coat vertically.
This makes missed sections easier to notice and reduces the chance of repeating the same brush marks.
Do not exceed the number of coats recommended by the manufacturer. Matte and satin finishes are more likely to appear cloudy when they are applied too heavily.
8. Allow the Painting to Cure
After the final coat, leave the painting flat until the varnish has fully dried and cured.
Do not frame, stack, roll, or wrap the artwork while the surface still feels soft or tacky. Pressure from packaging, glazing, or another canvas can leave marks.
Keep pets, loose fabric, and paper away from the surface. Even a coating that feels dry can stick slightly before it has fully cured.
Brush-On Varnish vs Spray Varnish
| Feature | Brush-on varnish | Spray varnish |
|---|---|---|
| Application | Wide, soft brush | Aerosol mist |
| Best for | Smooth, flat paintings | Textured or uneven surfaces |
| Main advantage | Greater control | No brush marks |
| Main risk | Streaks and over-brushing | Drips and uneven spraying |
| Ventilation | Recommended | Essential |
| Preparation | Smaller protected area | Larger area due to overspray |
Choose the method that best matches the canvas surface and your workspace.
Common Paint by Numbers Sealing Mistakes
Sealing Too Soon
A touch-dry surface may still contain moisture. Thick areas and recent corrections need more time than sections covered with one thin layer.
Applying One Heavy Coat
A thick layer can create drips, bubbles, streaks, or cloudy areas. It may also collect around raised paint edges.
Using a Dirty or Stiff Brush
Dust, dried paint, and loose bristles can become trapped in the finish. A stiff brush may leave lines that remain visible after drying.
Brushing Over Partially Dry Varnish
Once the varnish begins to set, continued brushing can drag it across the surface and create dull or cloudy patches.
Shaking Liquid Varnish
Shaking can introduce air bubbles. Stir liquid varnish gently unless the label says otherwise.
Spray cans normally need to be shaken before use, so follow their instructions.
Using an Unsuitable Household Product
Hairspray, furniture coatings, and general household sprays are not made for acrylic artwork. They may discolor, remain sticky, or become brittle over time.
Good preparation during painting makes the finished canvas easier to seal. See our paint by numbers tips for advice on paint coverage, canvas preparation, brushes, and final corrections.
Can You Frame Paint by Numbers Without Sealing It?
Yes. A paint by numbers painting does not need to be sealed before framing. For the framing options themselves, stretching the canvas on a wooden frame or placing it in a picture frame, see our guide on how to frame a paint by numbers.
Glass or acrylic glazing already protects the surface from dust and handling. The painted canvas should not press directly against the glazing, so use a mat, spacer, or frame that leaves space in front of the artwork.
An open frame leaves the painted surface exposed. In that case, varnish can make light dust removal easier and help create a more consistent finish.
Do not frame the painting while the acrylic paint or varnish still feels soft.
How Many Coats of Sealer Should You Use?
One or two thin coats are enough for most paint by numbers paintings.
A third coat does not automatically provide a better result. Too many matte or satin layers may look cloudy, while heavy gloss layers can create drips and strong reflections.
Follow the instructions for the exact varnish you use.
Final Answer
Sealing a paint by numbers painting is optional. Use a clear acrylic varnish when you want added protection or a more consistent matte, satin, or gloss finish.
Let the paint dry fully, test the varnish, keep the canvas flat, and apply thin coats. Pay extra attention to pale areas with several paint layers, since they may need more drying time than the rest of the painting.