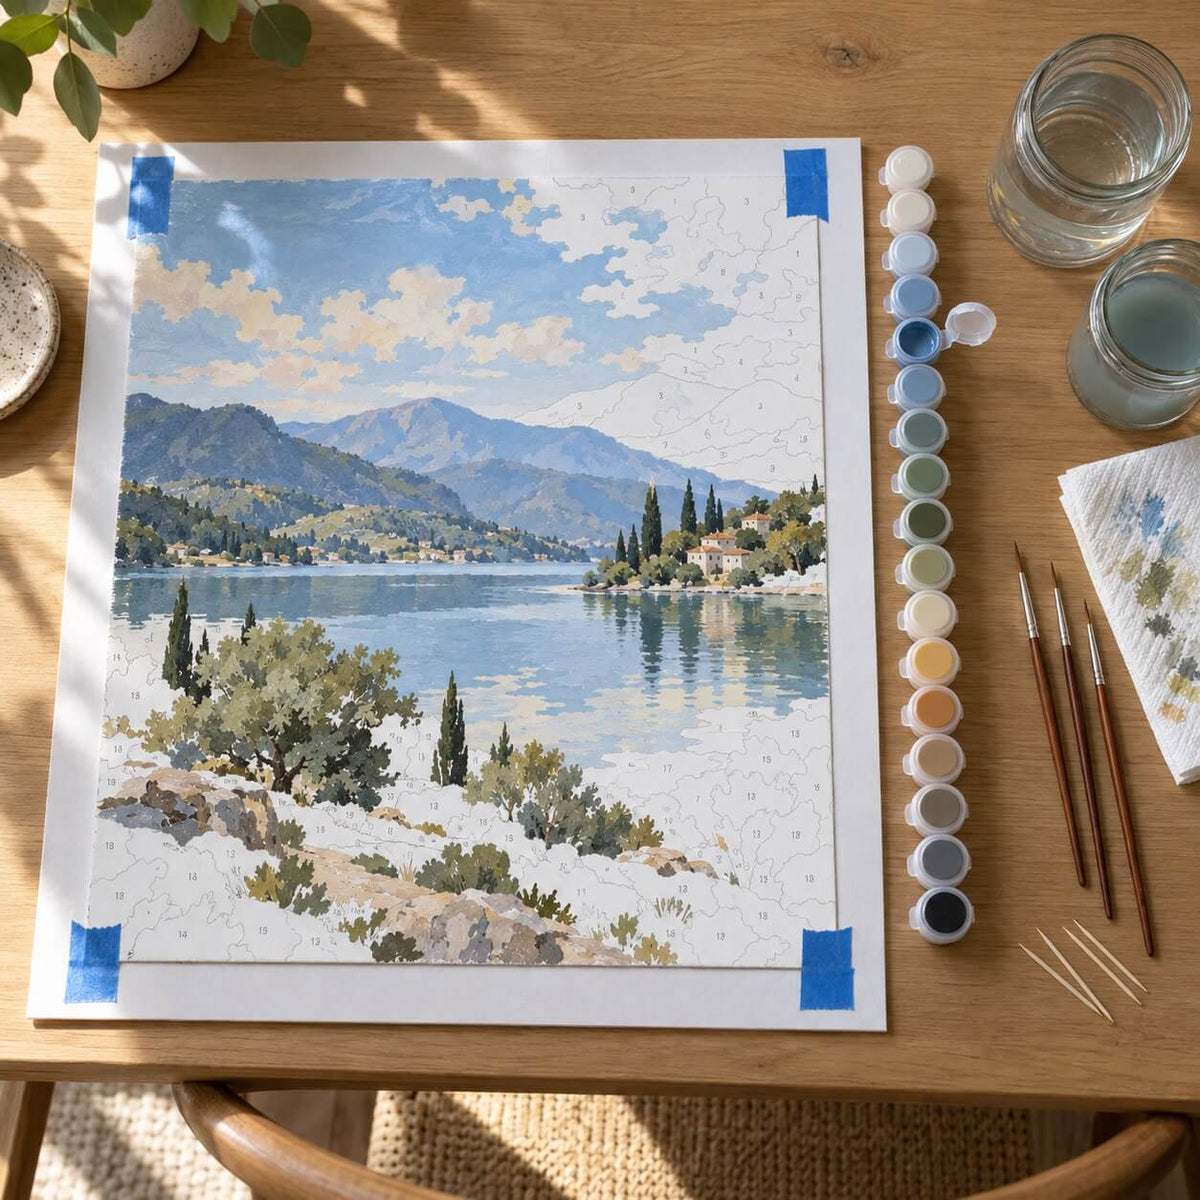

A paint by numbers kit is one of the easiest ways to complete a butterfly painting when you have little or no painting experience. The outline is already printed on the canvas, the acrylic colors are prepared, and each numbered area shows you where to paint. The main decision is choosing a design with the right level of detail.
For a first project, look for one large butterfly, clearly separated colors, and a background with broad sections. A design with dozens of small butterflies or dense flowers can still be suitable for a beginner, but it will take more patience. The ten butterfly painting ideas below range from short mini projects to detailed full-size canvases, so you can choose by both style and difficulty.
What Is the Easiest Butterfly Painting for a Beginner?
The easiest butterfly paintings have a clear focal point and large numbered spaces. Symmetrical wings also help because you paint similar shapes on both sides of the butterfly. Soft Wings and Blushing Roses, Magic Butterfly, and the Mini Butterfly set are the most approachable options in this list.
Do not judge difficulty by the number of colors alone. A canvas with many colors can be manageable when its sections are large. Small flower centers, thin antennae, narrow wing markings, and multiple tiny butterflies require more control than a simple background.
- Choose one large butterfly if you want an easy first canvas.
- Choose a mini design if you prefer a shorter project.
- Choose a stained-glass design if you like strong outlines and clearly divided colors.
- Choose a meadow or butterfly group if you enjoy fine details and do not mind a longer project.
How to Paint a Butterfly with Paint by Numbers
Begin with the background or the larger sections around the butterfly. This gives you room to get used to the paint before you reach the thin edges of the wings. Work with one color at a time and close each paint pot as soon as you finish using it.
Paint the main wing colors next, then add the smaller markings, body, and antennae. Light colors may need a second thin coat after the first has dried. If a printed number remains visible, let the area dry completely before covering it again rather than applying one thick layer.
Use the smallest brush for antennae and narrow outlines, but check that its tip forms a clean point. A slightly larger pointed brush often gives better control than a tiny brush with separated bristles. Our guide to paint by numbers brushes explains which sizes work best for broad areas, wing sections, and fine details.
10 Easy Butterfly Painting Ideas
1. Mini Butterfly Paintings
The Mini Butterfly 6 Pack contains six small designs rather than one large canvas. Each 15 × 15 cm (6 × 6 in.) picture uses a different butterfly composition, including single butterflies, pairs, flowers, and a night-sky design.
This is a practical starting point if a full-size canvas feels like too much. The small format keeps each project short, although the finer wing markings still require a steady hand. Paint one mini first, then use what you learned about paint thickness and brush pressure on the remaining five.

2. Poetry in Glass
Poetry in Glass uses a stained-glass composition with one large blue butterfly, yellow and orange flowers, and dark outlines separating the colored sections. Those boundaries make neighboring colors easy to distinguish and reduce the chance of accidentally crossing from one shape into another.
The wings contain several narrow cells, so complete the larger blue sections first and leave the smallest shapes until your hand has settled. Keep the dark outlines visible; they are part of the design and create the stained-glass effect.

3. Butterfly Towards the Light
This design places a large orange-and-black butterfly above white and peach flowers. The butterfly is easy to identify against the pale center, while the darker corners create a strong frame around it. It suits a beginner who wants a recognizable subject with more depth than a flat background.
Start with the light area behind the butterfly, then paint the surrounding foliage and flowers. Leave the black wing edges and thin flower stems until later. Orange paint can appear uneven over printed lines, so use two thin coats where needed.
4. Swirling Butterfly Storm
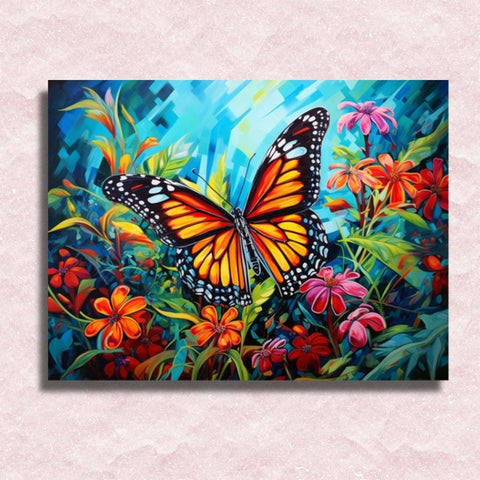
Swirling Butterfly Storm is the most detailed idea in this group. It combines many small butterflies with pink, yellow, and blue flowers across the entire canvas. There is no large empty background, so nearly every part of the image contains a color change or a small edge.
Choose this design if you are a patient beginner rather than someone looking for the quickest result. Divide the canvas into four sections and finish one area at a time. Complete the larger flowers first, then add the small butterflies so their shapes remain distinct.

5. Magic Butterfly
Magic Butterfly features one large purple butterfly resting on purple flowers. The limited color family makes the picture feel coordinated, while the yellow and white spots on the wings provide contrast. The main butterfly occupies much of the canvas, which makes this less demanding than a scene filled with many small subjects.
Paint the pale background and flowers before moving to the wings. Keep the dark purple edges neat, then add the small yellow and white markings last. This order makes it easier to correct the main wing colors without covering the brightest details.

6. Butterfly Heart
Butterfly Heart arranges many orange, blue, pink, and yellow butterflies into a heart shape on a light background. The open background is simple, but the individual butterflies contain small wing sections. This makes the design easy to understand but moderately detailed to paint.
Complete one butterfly at a time instead of jumping between all matching colors across the heart. That approach helps preserve each silhouette and makes progress easier to see. Check the gaps between neighboring butterflies before the paint dries so the heart outline stays clear.

7. Kaleidoscope Butterfly
Kaleidoscope Butterfly uses one centered butterfly made from bold geometric sections in blue, red, yellow, green, and purple. The wings are symmetrical, and most colors are separated by dark outlines. It is a strong choice if you prefer graphic art to a realistic garden scene.
Use the symmetry as a guide: paint a section on one wing, then find the matching section on the other. Work from the center outward and save the black outlines for the end. The straight divisions are forgiving, but the small shapes near the body need a fine point.

8. Butterflies on Spring Meadow
Butterflies on Spring Meadow shows several blue butterflies moving through yellow and white wildflowers. The background is softer than the foreground, while the nearest butterfly has clearly defined dark wing edges. It creates more depth than a centered portrait but also includes more small flower and grass sections.
Paint from the distant sky and meadow toward the foreground. Then complete the flowers before adding the butterflies. This sequence keeps the blue wings clean and prevents the surrounding yellow paint from changing their outlines.

9. Mini Butterfly Cherry Blossoms
Mini Butterfly Cherry Blossoms combines a blue butterfly with pink blossoms and a pale, watercolor-style background. The butterfly provides one clear focal point, but the layered petals and soft color changes add more detail than the small format first suggests.
Begin with the pale background and branches. Paint the blossoms next, working from lighter pinks to darker centers, and finish with the blue butterfly. Avoid loading the brush with too much paint near the thin branch lines.

10. Soft Wings and Blushing Roses
Soft Wings and Blushing Roses has a single yellow-and-blue butterfly surrounded by large pink roses. Broad petals and an uncluttered blue background make the main shapes easier to follow than those in the meadow and butterfly-group designs.
This is one of the best full-size choices for a first butterfly painting. Paint the blue background, then the large rose petals, and finish with the butterfly. When two pink shades meet, let the first dry before adding the second so the edge stays visible.

How to Choose Between These Butterfly Painting Ideas
Choose Mini Butterfly Paintings if you want several short projects, or Soft Wings and Blushing Roses if you want the simplest full-size composition. Poetry in Glass and Kaleidoscope Butterfly are good options for painters who prefer strong outlines. Butterfly Towards the Light and Magic Butterfly add realistic flowers without filling the entire canvas with tiny subjects.
Butterfly Heart, Butterflies on Spring Meadow, and Swirling Butterfly Storm require more time because they contain repeated small shapes. They are still possible for a first project, but they reward slower work and regular breaks. You can compare these styles with other butterfly paint by numbers kits before choosing a canvas.
Common Beginner Mistakes to Avoid
- Starting with the antennae: paint thin lines after the surrounding colors are dry.
- Using one thick coat: two thin coats usually cover printed numbers more cleanly.
- Leaving several paint pots open: acrylic paint can begin to thicken while you work.
- Painting every tiny section first: larger areas help you build control before detailed work.
- Rushing a dense design: divide detailed meadows and butterfly groups into smaller sections.
Final Tip
The best easy butterfly painting is not necessarily the one with the fewest colors. Look at the size of the numbered areas, the number of separate subjects, and the amount of fine outlining. A large central butterfly gives you the clearest starting point, while a detailed meadow is better when you want a longer project. Pick the design that matches the amount of time and precision you want to give it.