Want to turn your photo into a paint by numbers design? Here’s the short answer: you either convert it yourself using software or use a ready-made solution that prepares everything for you (for example, turning your photo into a custom paint by numbers). The key is simplifying the image into clear shapes, limited colors, and numbered sections that actually work with real paint.
Quick steps (what actually works)
-
Choose a photo with clear subject and contrast
-
Reduce colors to a manageable palette (15–30 colors)
-
Simplify edges into clean shapes
-
Assign numbers to each color area
-
Print on canvas and match with paints
This sounds simple, but most issues come from steps 2 and 3.
How paint by numbers from a photo works
The process follows three core steps: color reduction, line simplification, and number mapping. A complex photo is first reduced into a manageable palette so shapes stay readable. Soft transitions are then turned into clear borders so areas don’t blend into each other. Finally, each area gets a number that corresponds to a specific paint color.
Color reduction
Photos contain hundreds of subtle tones. Paint by numbers reduces these into a smaller set of colors so the image becomes paintable. Too many colors create tiny sections that are frustrating to paint, while too few remove important detail.
Line simplification
Edges in photos are often soft. This step turns them into defined borders so each painted area is clearly separated. Without this, shapes blend together and the final result looks messy.
Number mapping
Each color area is assigned a number. This connects the canvas with the paint set and removes guesswork. The painter focuses only on filling shapes accurately.
DIY methods (software, apps, manual)
Many people try to convert a photo themselves first. DIY methods usually fall into three categories: software tools, mobile apps, and manual preparation.
Software tools
Design software gives full control over colors, contrast, and detail. Results can be good, but only if you know how to adjust the image properly. Without experience, you usually end up with too many small sections.
Mobile apps
Apps are fast and simple. They generate a result in seconds, but often struggle with faces, shadows, and fine details. The output may look acceptable on screen but worse when printed.
Manual methods
This approach involves tracing and labeling by hand. It offers full control but takes a lot of time and requires drawing skill. Keeping proportions clean is difficult, especially on larger images.
Pros and cons of DIY
Pros:
-
low cost
-
full control
Cons:
-
high time investment
-
inconsistent results
What actually happens when you try DIY (real experience)
I tested this with a few photos (a portrait and a pet). The first export looked fine on screen, but once printed, the face broke into dozens of tiny sections that were hard to fill cleanly. Shadows turned into patchy blocks and lighter areas lost detail. I had to repaint several areas twice to cover numbers and lines, which slowed everything down. The pet photo worked better, but still needed simplifying before it felt comfortable to paint. This is usually where people stop or look for a cleaner, prepared version.
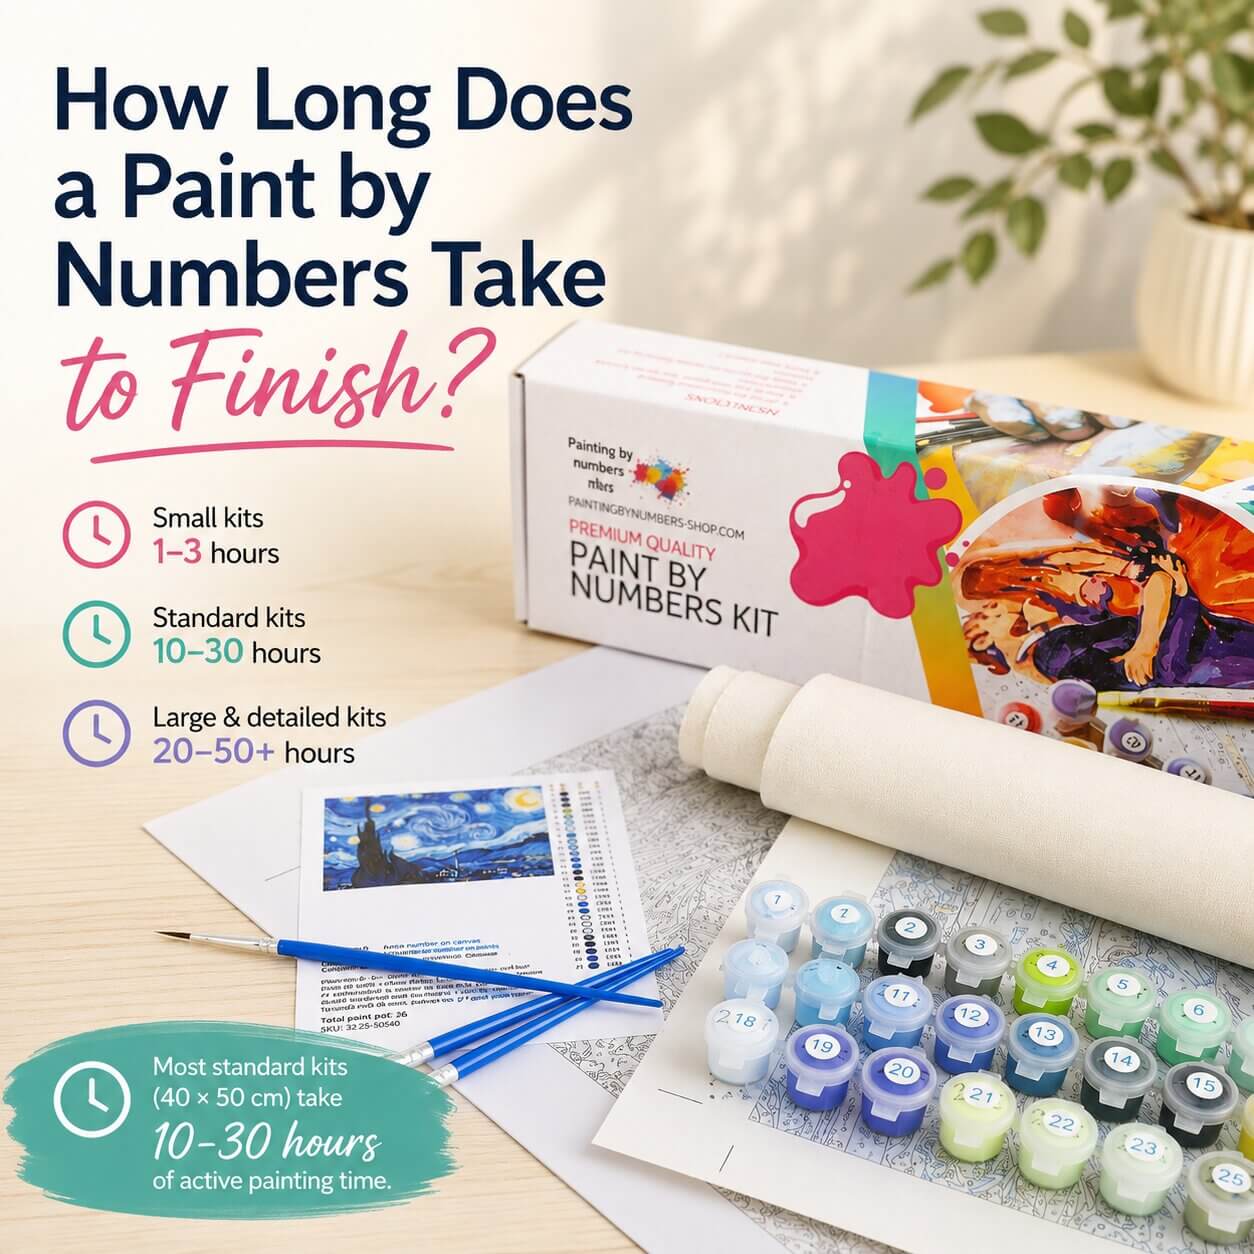
Ready-made paint by numbers kits (simplest option)
If you want a clean result without trial and error, a prepared solution handles the conversion for you. The image is optimized into balanced shapes, readable numbers, and a controlled color palette. The canvas, paints, and brushes are ready to use.
If you want a reliable outcome from a personal image, a custom paint by numbers kit removes most of the common DIY issues. This matters especially for portraits, pets, and meaningful photos where detail and clarity are important.
Best photos for paint by numbers
Not every photo works well. Images with strong contrast, clear subjects, and simple backgrounds produce the best results. Close-up portraits, pets, and objects with defined edges are ideal. Busy backgrounds or low-light photos usually lead to messy layouts.
DIY vs ready-made: what makes sense?
DIY works if you want to experiment and understand the process. It takes time and results vary. Ready-made kits work better if you want a predictable result without fixing mistakes. Most people try DIY once and then switch when they want a cleaner outcome or are working with a photo that matters.