
A good result with paint by numbers depends on more than matching each printed section with the correct color. Canvas preparation, paint consistency, brush choice, and the way you treat edges all affect how clean the finished artwork looks.
The following paint by numbers tips focus on practical details that reduce streaks, cover visible numbers, keep shapes defined, and create smoother color transitions. Most require no extra painting experience or specialist equipment. New to paint by numbers? Start with our step-by-step guide on how to paint by numbers.

1. Choose a Design That Matches Your Skill Level
Canvas size alone does not determine difficulty. A large painting with broad areas may be easier than a small image filled with narrow sections and subtle color changes.
Beginners should look for designs with:
- larger numbered areas,
- fewer colors,
- clearly separated objects,
- limited shading,
- a simple background.
Mini paint by numbers kits are useful for practicing paint coverage, brush control, and clean borders without committing to a large project. Check the level of detail before choosing one, because a compact canvas may still contain many tiny sections.
Painters with more experience may prefer famous paintings paint by numbers, which often include finer details, more shades, and gradual changes in light and shadow.
The source image can also affect the difficulty of a personalized kit. When ordering custom paint by numbers, choose a clear photo with one main subject, balanced lighting, and enough contrast between the subject and background. Dark, blurred, or crowded photos usually create more complicated sections and make important details harder to distinguish.
2. Flatten the Canvas Before Painting
Paint spreads more evenly over a flat surface. Folds can distort printed areas, cause the brush to skip, and remain visible after the colors have dried.
For light curling, place the canvas under a flat board or several heavy books for a day or two.
Deeper creases may require gentle ironing:
- Turn the canvas printed-side down.
- Place a clean cloth over the back.
- Use a low heat setting.
- Keep the iron moving.
- Avoid direct heat on the printed surface.
Our guide to removing creases from a paint by numbers canvas explains the safest methods in more detail.
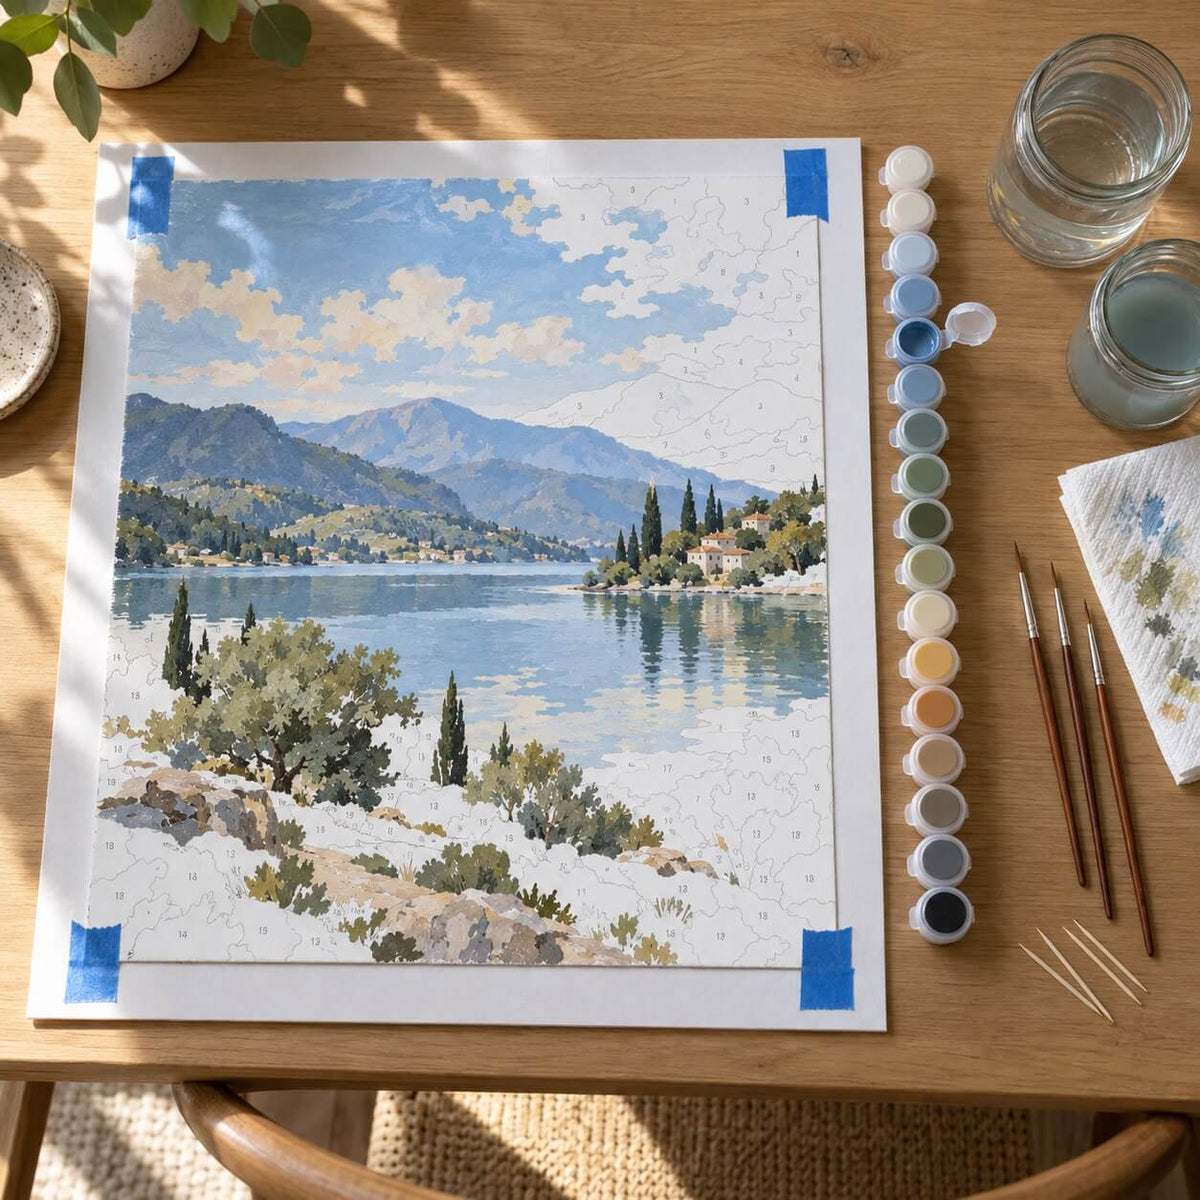
An unstretched canvas can also be taped to foam board or another rigid surface. This keeps it stable and makes narrow areas easier to paint.

3. Organize the Paints and Workspace
A prepared workspace reduces interruptions and lowers the risk of using the wrong color.
Before starting:
- check that all numbered paint pots are included,
- arrange them in numerical order,
- prepare clean water,
- keep paper towels nearby,
- use a well-lit table.
Two water containers can be useful. Use the first for the initial rinse and the second to remove any pigment still left in the brush. This is particularly helpful when changing from a dark shade to a pale one.
Open only the color you are currently using. Acrylic paint dries quickly in small containers, and a lid left partly open may cause the paint to thicken during the same session.
Neutral lighting makes similar shades easier to distinguish and helps reveal printed numbers that still show through pale paint.
4. Use Clear Gesso Only When the Surface Needs It
Most paint by numbers canvases do not require primer. Clear gesso is optional and should be used only when it solves a specific surface problem.
A thin coat may help when:
- the canvas feels unusually smooth,
- the paint slides instead of gripping,
- the weave is very noticeable,
- you prefer a slightly more textured surface.
Apply one light, even layer with a foam brush or a wide flat brush. Let it dry fully before painting.
Several thick coats can make small numbers and outlines difficult to read. Test the gesso in one corner first. When the acrylic paint already spreads and holds well, skip this step.
5. Keep Acrylic Paint at the Right Consistency
Paint should leave the brush smoothly without running into neighboring areas.
Paint that is too thick may create:
- ridges,
- rough patches,
- visible brush marks,
- uneven drying.
Paint that is too thin may:
- lose opacity,
- show the printed number underneath,
- spread across the outline,
- require unnecessary extra coats.
Stir each color before use because pigment can settle while the kit is stored.
When paint feels too thick, add one drop of clean water and mix it thoroughly. Test it before adding more. A small paint pot needs very little water, and several drops can make a light color too transparent.
Do not thin every shade automatically. Some paints will already have the correct consistency when opened.
Close the lid firmly whenever the color is not in use. This is more effective than repeatedly trying to restore partially dried paint.

6. Match the Brush to the Section
Using the smallest brush across the entire canvas does not guarantee better detail. It often makes larger areas streaky and slows down the work.
Use a fine pointed brush for:
- eyes and facial features,
- narrow branches,
- small petals,
- thin outlines,
- corners where several colors meet.
Use a medium or wider brush for:
- skies,
- water,
- walls,
- backgrounds,
- broad areas of one color.
Dip only the tip of the brush into the paint. Too much paint near the ferrule makes the brush harder to control and increases the chance of crossing the printed border.
For a large area, begin closer to the center and guide the paint outward. Approach the edge with less paint on the brush.
Rotate the canvas instead of forcing your hand into an awkward position. A comfortable angle usually produces cleaner lines.
Replace a brush once the point begins to split or the bristles stay bent. A worn tip can make even simple sections difficult to fill accurately.
7. Build Coverage with Thin Layers
A heavy coat may hide the printed number quickly, but it can also form ridges, dry unevenly, and spill into nearby sections.
Begin with a controlled first layer. Let it dry before deciding whether more paint is needed.
Pale shades such as white, cream, yellow, light pink, and pale blue often need additional coverage. Dark colors usually hide numbers more easily, although they can still look uneven when applied too thickly.
The first coat establishes the color. A second thin coat can:
- hide visible numbers,
- cover printed lines,
- smooth streaks,
- strengthen pale shades,
- fill small gaps near the border.
Stop brushing once acrylic paint begins to feel sticky. Continuing at that stage may lift the drying layer and leave a rough patch.
Let the area dry, then return with fresh paint.
Our guide to covering lines and numbers on a paint by numbers canvas includes more options for light colors that remain transparent after two coats.
8. Keep Borders Clean and Correct Mistakes Carefully
Clear borders preserve the shape of eyes, windows, leaves, petals, clothing, and other detailed objects.
Use a small amount of paint and move gradually toward the printed line. Avoid placing a fully loaded brush directly on the border.
When wet paint enters the wrong section:
- Rinse the brush.
- Remove most of the water.
- Lift the incorrect paint with the damp tip.
- Repeat without rubbing the canvas.
When the paint has already dried:
- Leave the surrounding area until it is fully dry.
- Cover the mistake with the correct color.
- Let the repair dry.
- Add another thin coat when required.
Dark paint under a light shade may take more than one layer to hide.
Do not use nail polish remover or strong solvents. They may damage the printed coating, spread the pigment, or leave a visible mark on the canvas.
Small errors often become less noticeable once the surrounding sections are complete. Correct them gently rather than scraping the surface.
9. Blend Colors Where the Subject Needs a Soft Transition
Blending softens the border between neighboring colors. It works best in skies, clouds, water, sunsets, distant hills, shadows, and some areas of fur. These transitions are especially common in landscape paint by numbers.
Do not blend every border. Eyes, windows, branches, petals, buildings, and other defined details usually look better with clean edges.
Use Wet-on-Wet Blending
Apply both neighboring colors while they are still wet. Use a clean, slightly damp brush to move gently across the meeting line until the transition looks softer.
Short diagonal or zig-zag strokes work well across broad areas such as skies and water. Use only a few movements, as excessive brushing can create a dull or muddy color.
Use Feathering for Textured Areas
For clouds, fur, grass, and soft shadows, use a mostly dry brush to pull short strokes from one color into the next. Follow the natural direction of the subject instead of trying to create a perfectly smooth gradient.
Cover Visible Printed Lines First
When pale colors do not hide the printed border, apply a thin base coat to both areas and let it dry. Add fresh paint over the dry layer and blend while the new paint is still wet.
Acrylic paint dries quickly, so prepare both shades before starting and work on one small area at a time. If the paint begins to feel sticky, let it dry and apply a fresh thin layer rather than adding more water.
Practice the method on a spare surface or a less prominent background section before blending an important area.
10. Inspect and Finish the Painting After It Dries
Do not make the final assessment immediately after filling the last section. Leave the canvas to dry and inspect it the following day in natural light.
Check for:
- visible numbers,
- unpainted gaps,
- streaky coverage,
- paint outside the intended area,
- transitions that look too harsh,
- small details that have lost their shape.
Correct only the areas that need it. A few targeted repairs usually improve the result more than repainting large sections.
Add Small Highlights and Shadows
The numbered template does not prevent you from adding subtle details of your own.
A lighter version of an existing color can strengthen a highlight. A slightly darker tone can deepen a shadow or define an edge.
These additions work well on:
- clouds,
- flower centers,
- water reflections,
- fur and hair,
- folds in clothing,
- the illuminated side of an object.
Use them sparingly. The goal is to improve depth without changing the composition or covering useful details.
Seal the Painted Surface
Sealing is optional, but it can protect the finished artwork from dust, small scratches, and light moisture. It can also even out differences in sheen between colors.
Typical finishes include:
- matte for minimal reflection,
- satin for a mild sheen,
- gloss for a brighter surface.
Wait until the acrylic paint is fully dry. Apply several light coats instead of one heavy layer.
Our guide to sealing a paint by numbers painting explains the available finishes, application methods, and drying process.
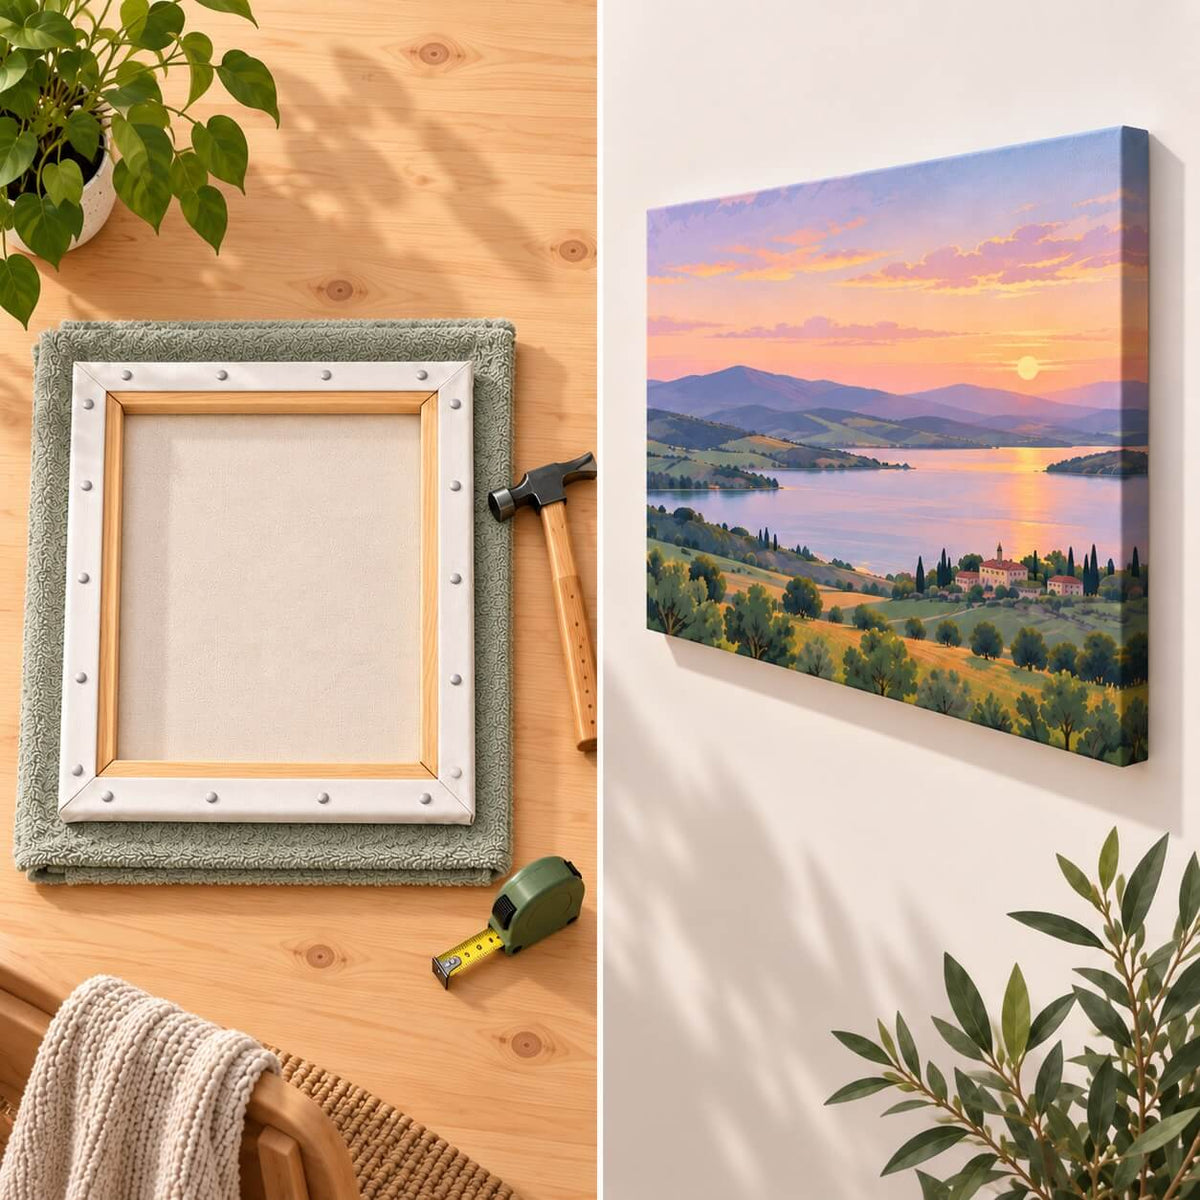
Framing the artwork or mounting it on stretcher bars adds support and keeps the canvas from curling. It can also hide uneven outer edges and make the painting easier to display.
Final Paint by Numbers Tips
A cleaner result usually comes from controlled preparation and paint application rather than complicated techniques. Flatten the canvas, organize the colors, keep the paint workable, and use a brush suited to each area.
Build pale colors with thin coats, preserve sharp borders around detailed objects, and blend only where the image contains a natural gradient. After the canvas dries, inspect it once more before sealing or framing.
Frequently Asked Questions
What Are the Best Paint by Numbers Tips for Beginners?
Begin with a flat canvas, arrange the paints in order, and work in thin layers. Use a fine brush for small areas and a wider brush for larger ones. Let each coat dry before correcting the coverage.
How Do You Make Paint by Numbers Look More Professional?
Focus on even paint coverage, defined edges, and controlled blending. Cover visible numbers with a second thin coat and inspect the dry canvas for gaps or streaks before finishing it.
Should You Paint Light or Dark Colors First?
There is no required order, but where light and dark areas meet, paint the lighter color first. Dark paint easily covers a small slip, while a pale color over a dark mistake can need two or three coats. Work from the top down, starting on the side away from your painting hand.
How Do You Stop Numbers from Showing Through the Paint?
Allow the first coat to dry before adding another thin layer. Avoid over-diluting light colors. Two or three controlled coats usually hide the print better than one thick application.
What Is the Best Way to Blend Paint by Numbers?
Apply both neighboring colors while they are still wet, then soften the meeting line with a clean, slightly damp brush. Short zig-zag strokes suit broad gradients, while feathering works better for fur, clouds, grass, and textured shadows.
Is Clear Gesso Necessary?
No. Use clear gesso only when the canvas feels too smooth or the acrylic paint does not grip well. Apply one thin coat and test it in a corner first.
Can You Correct a Mistake After the Paint Dries?
Yes. Let the area dry completely, then cover the mistake with the correct shade. A dark error beneath a pale color may require several thin coats.
Does a Paint by Numbers Canvas Need to Be Sealed?
No, but a sealant can protect the surface and create a consistent matte, satin, or gloss finish. Apply it only after the entire painting has dried.