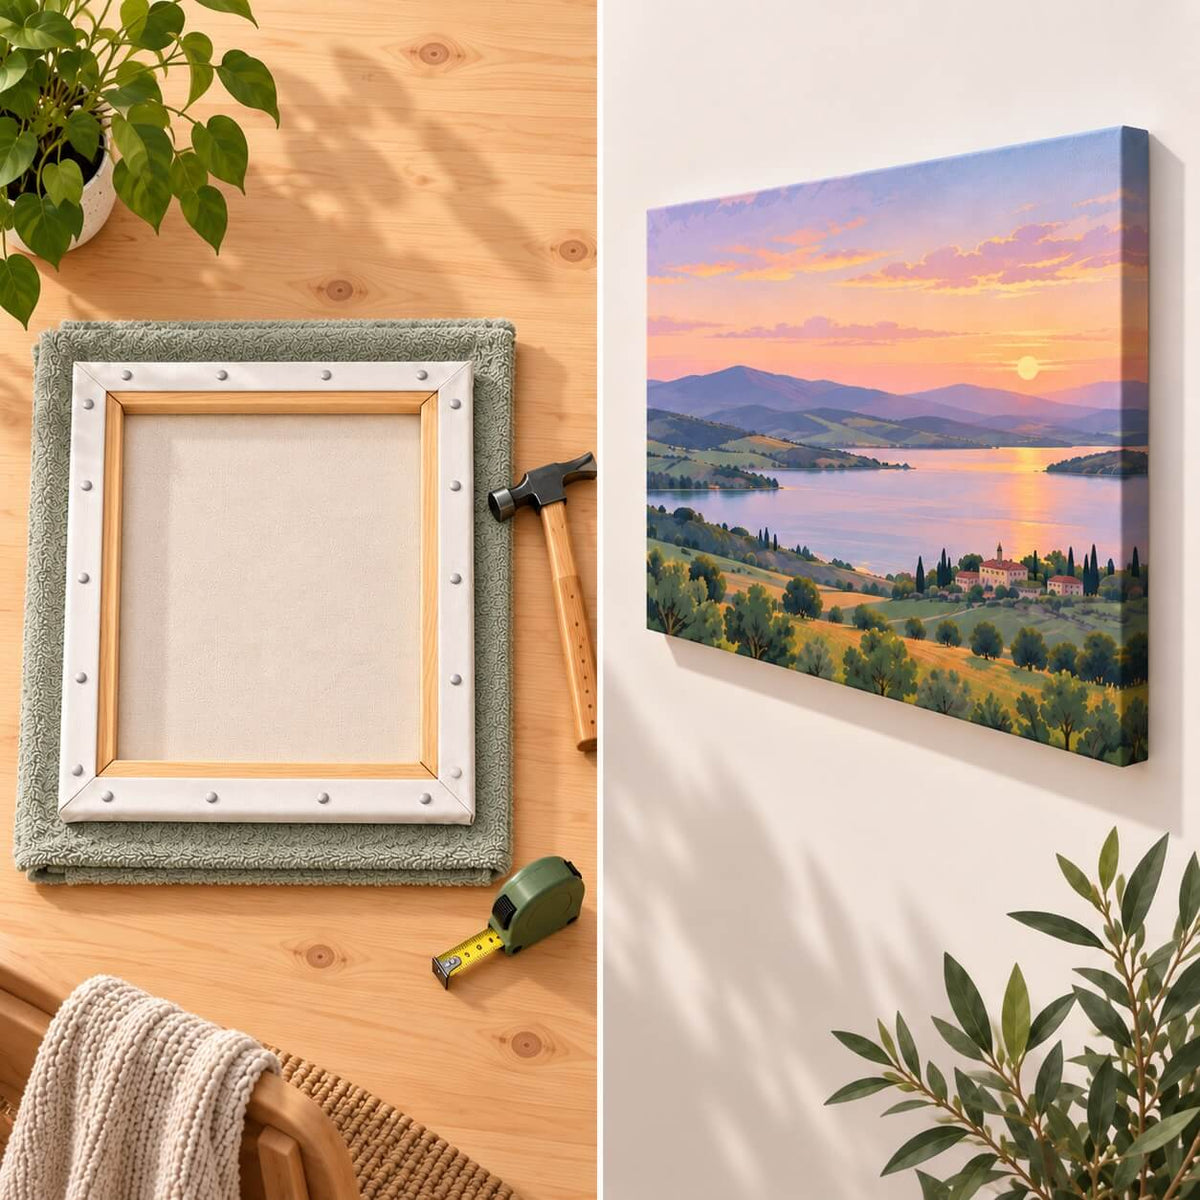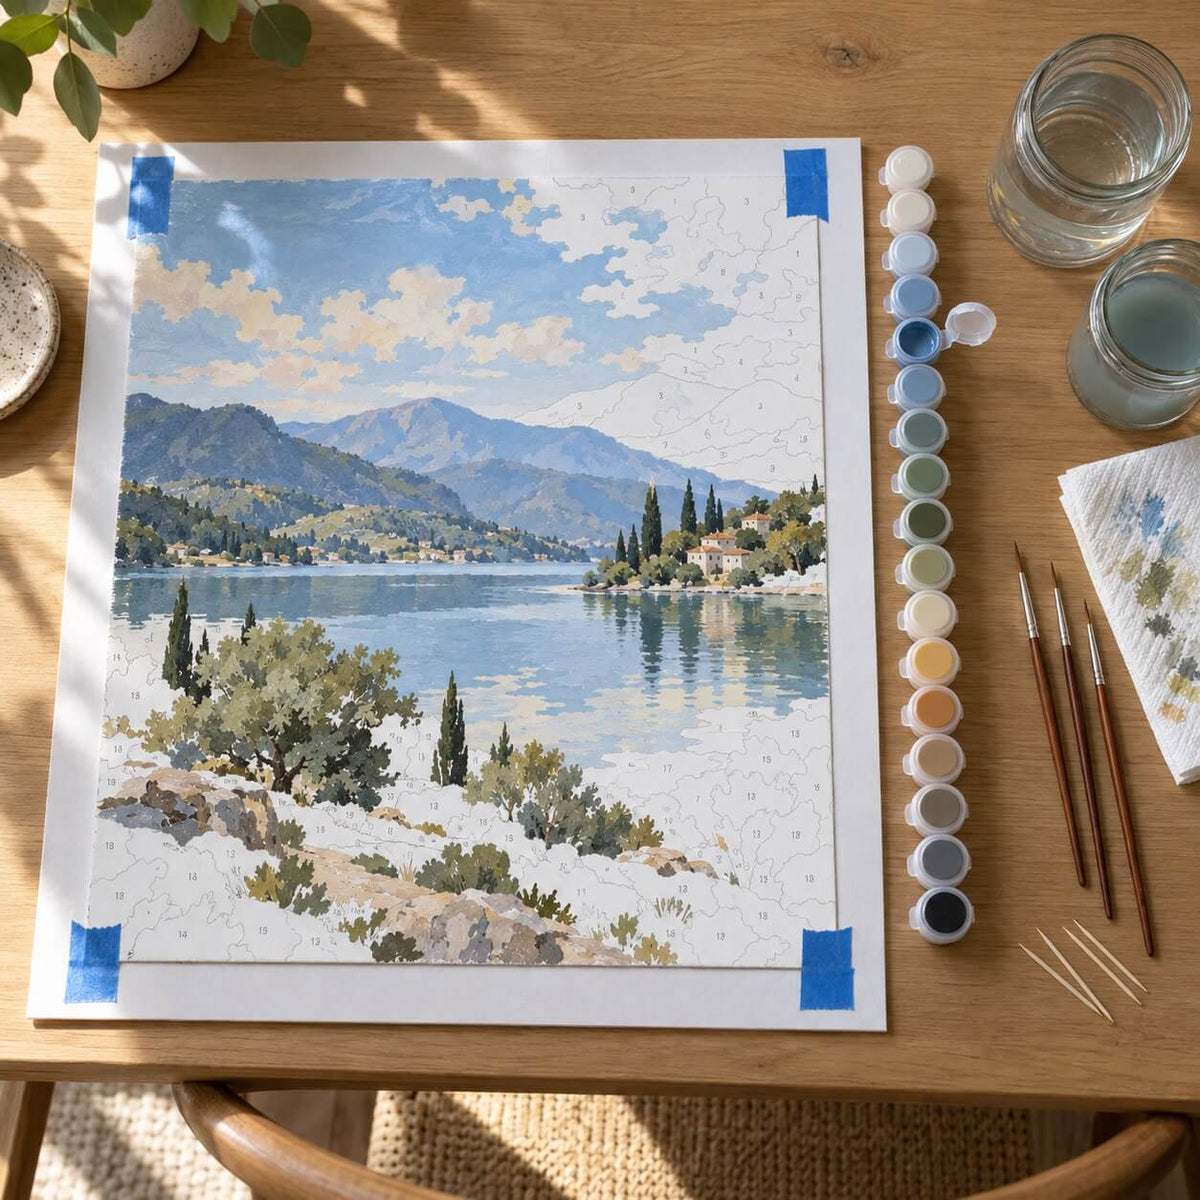

Easy painting ideas for beginners can be as simple as a two-color sunset, a vase with three flowers, or a paint by numbers kit with large, clearly marked sections. The best first projects use recognizable shapes, a limited palette, and enough open space to correct mistakes without repainting the entire canvas.
You do not need drawing experience or expensive supplies. A few acrylic colors, two or three brushes, and a small canvas or sheet of acrylic paper are enough for most of the projects below. If you would rather concentrate on handling paint instead of drawing the composition, paint by numbers kits for adults provide the canvas, colors, and brushes in one set.

What Are the Easiest Things to Paint as a Beginner?
Start with subjects made from broad shapes rather than fine outlines. Sunsets, mountain silhouettes, flowers, leaves, and simple objects let you practice one skill at a time. Faces, hands, detailed buildings, and realistic fur are better saved for later.
| Painting idea | Skill to practice | Approximate time |
|---|---|---|
| Two-color sunset | Blending | 30–45 minutes |
| Mountain silhouette | Layering | 45–60 minutes |
| Ocean horizon | Straight edges | 30–60 minutes |
| Simple daisies | Repeated shapes | 45–75 minutes |
| Citrus slices | Curved lines | 45–90 minutes |
| Geometric color blocks | Clean edges | 30–60 minutes |
| Cat silhouette | Shape and contrast | 45–75 minutes |
| Mini paint by numbers | Paint control | 1–4 hours |
These times assume a small canvas or acrylic paper measuring roughly 8 × 10 inches. Drying time, extra layers, and the amount of detail can make any project longer.
Basic Acrylic Painting Supplies
Acrylic paint works well for beginners because it dries quickly, cleans up with water, and can cover an earlier mistake once the surface is dry. You only need a short supply list:
- A small set of acrylic paints
- One medium flat brush for backgrounds
- One small round brush for shapes and edges
- A fine round brush for narrow details
- Canvas, canvas board, or thick acrylic paper
- A cup of clean water
- A plate or palette for mixing colors
- A cloth or paper towel for controlling moisture
Keep the brush damp, but not dripping. If the paint feels too thick, mix in one small drop of water and test it before adding more. Excess water weakens coverage and may cause the paint to run across nearby edges.

30 Easy Painting Ideas for Beginners
1. Two-Color Sunset
Choose two neighboring colors, such as yellow and orange or pink and purple. Paint the lighter color across the lower half of the sky and the darker color above it. Blend them where they meet while both layers are still wet. A dark strip of land at the bottom covers an uneven edge and finishes the scene.
2. Mountain Silhouette
Paint a plain sky first and allow it to dry. Add one row of distant mountains in a medium shade, followed by a darker row in front. The ridgelines do not need to be symmetrical. Irregular peaks make the landscape look more natural and remove the pressure of drawing an exact outline.
3. Calm Ocean Horizon
Divide the surface into sky and water with a horizontal line. Use lighter blue near the horizon and a deeper shade near the bottom. A few short white marks can suggest light on the water. This project is useful for practicing straight edges and smooth color changes.
4. Moonlit Night Sky
Cover the background with dark blue rather than solid black. Add a pale circle for the moon, then place a few small stars around it with the tip of a fine brush. A black tree line or rooftop silhouette along the bottom creates depth without requiring detailed drawing.
5. Snow-Covered Pine Tree
Build the tree from stacked rows of short green strokes, making each row wider than the one above it. Wait for the green to dry before adding small amounts of white along the upper edges of the branches. A single tree is enough for a first attempt.
6. Soft Clouds
Begin with a dry blue background. Use a rounded brush or small piece of sponge to dab white paint into several loose cloud shapes. Mix a trace of blue or gray into the lower edges. The outline should remain uneven, so small differences between both sides will not look like mistakes.
7. Desert Cactus
Draw one vertical rounded shape and add two short arms. Fill it with green, then use a lighter green on one side and a darker shade on the other. Small dots or short lines can suggest spines. A pale peach or sandy background keeps the color palette manageable.
8. Forest Path
Paint a light path that narrows toward the center of the canvas. Place dark tree trunks on both sides and add foliage with short dabs of green. The narrowing path creates perspective without complicated measuring. Keep the distant trees smaller and less defined than the foreground trees.
9. Three Tulips
Tulips can be reduced to cup-shaped flowers, narrow stems, and pointed leaves. Paint three blooms at slightly different heights instead of trying to make a full bouquet. Complete the stems first, let them dry, and place the flower shapes on top.
10. Simple Daisies
Paint a small yellow circle and surround it with five or six white petals. Repeat the same shape at different angles rather than copying every flower exactly. Daisies are useful for improving brush control because the basic movement stays the same across the painting.
11. Lavender Stems
Draw several thin green stems, then add rows of small purple dabs along their upper halves. Vary the height and direction of each stem. The flowers are created from texture rather than exact outlines, making lavender less demanding than a detailed rose.
12. Single Sunflower
Start with a large brown circle and add a ring of yellow petals around it. A second, slightly darker yellow can be placed near the center of each petal. Keep the composition to one flower so you can work at a larger scale and avoid numerous small details.
13. Large Green Leaf
A single leaf provides enough detail for a complete painting. Draw an oval with a pointed end, add the central vein, and divide the surface into several sections. Fill them with different greens. The sections can remain flat or be blended gently for a softer finish.
14. Potted Houseplant
Use a rectangle or rounded trapezoid for the pot. Add five to seven leaves extending in different directions, then paint a simple background. The pot provides a stable geometric shape while the leaves allow looser brushwork.
15. Cherry Blossom Branch
Paint one dark branch running diagonally across the canvas. Once it has dried, add small groups of pale pink dots and five-petal flowers. Leave open space around the branch. A sparse composition is easier to balance than a canvas filled with blossoms.
16. Orange or Lemon Slices
Draw two or three overlapping circles. Add a smaller circle inside each one and divide it into wedge-shaped segments. Slightly uneven sections still look natural. This subject works especially well with a restricted palette of yellow, orange, white, and green.
17. Bowl of Cherries
Cherries are built from circles, curved stems, and a few highlights. Paint the bowl as one broad shape before adding the fruit. Use dark red for the base of each cherry and a small lighter mark near the top to suggest reflected light.
18. Coffee Cup
Use an oval for the top of the cup and a rounded rectangle for the body. The handle can be added as a thick curved line. Place the cup against a plain background or add two loose steam lines above it. Accurate shading is optional; the silhouette is enough to make the object recognizable.
19. Candle and Book
Paint the book as two wide rectangles and position a simple candle on top. Warm yellow around the flame creates a clear focal point. Because the scene uses basic shapes, you can spend more time practicing shadows without needing an exact drawing.
20. Colorful Umbrella
Draw a wide semicircle and divide it into five or six panels. Fill each panel with a different color, then add a curved handle. The repeated divisions make the umbrella useful for practicing clean edges and paint coverage.
21. Simple Front Door
A rectangular door surrounded by a contrasting wall makes an uncomplicated architectural subject. Add two windows, a round handle, and a flowerpot if space allows. Keep the lines broad and omit bricks, railings, and other small structural details.
22. Small Sailboat
Build the boat from a curved hull, one vertical mast, and two triangular sails. Place it on a flat band of blue water beneath a pale sky. The clear geometric shapes are easier to correct than the proportions of a person or animal.
23. Christmas Tree Silhouette
Paint a dark green triangle made from loose horizontal strokes. Add a short trunk and a few colored dots for ornaments. A simple star can cover the pointed top if the tree outline is uneven. The design works on small canvases, cards, and wooden ornaments.
24. Geometric Color Blocks
Divide the surface into large triangles, arches, or rectangles with a pencil and ruler. Assign a different color to each section. Painter’s tape can help with straight edges, but remove it only after the paint has dried. Limiting the design to four colors keeps the composition controlled.
25. Overlapping Circles
Draw circles that cross over one another and fill the new shapes created by the overlaps. Use related shades for a calm design or contrasting colors for a stronger result. There is no correct arrangement, so the project is easy to adjust as you work.
26. Simple Color Gradient
Choose one color plus white. Paint the original color at one end of the canvas, then gradually mix in more white as you move across it. Work quickly enough to blend neighboring bands before they dry. This exercise shows how much a small amount of white changes acrylic paint.
27. Symmetrical Butterfly
Sketch the body first, then add one large and one small wing on each side. Repeat the same color pattern across both halves without worrying about perfect symmetry. A dark outer edge can clean up uneven borders after the inner colors have dried.
28. Cat Silhouette
Use a photograph only as a guide for the outer shape. A seated cat can be simplified into an oval body, round head, pointed ears, and curved tail. Fill the silhouette with one dark color and place it against a sunset, window, or moonlit background.
29. Mini Paint by Numbers Project
A numbered canvas removes the need to sketch, mix a complete palette, or decide where each color belongs. Look for a design with broad sections and limited fine detail. Some mini paint by numbers kits can be completed in one to four hours, making them practical for a first guided project.

30. Simplified Famous Painting
Choose a recognizable artwork with a strong composition and reduce it to its largest shapes. A night sky, water-lily pond, or field of flowers works better for this exercise than a detailed portrait. These easy famous paintings to recreate provide several subjects that can be adapted for beginner practice.
What Actually Makes a Painting Beginner-Friendly?
When we assess a paint by numbers design for beginners, we inspect the outlined canvas as well as the finished picture. A finished image can appear simple while hiding hundreds of narrow sections. Four details give a better indication of the real difficulty:
- Size of the smallest sections: Large sections require less precision and are easier to cover evenly.
- Number of hard edges: Buildings, lettering, and faces expose uneven outlines more than clouds, flowers, or foliage.
- Paint coverage: White, pale yellow, and some light pinks may need a second thin coat to hide an outline.
- Amount of repeated detail: Grass, fur, leaves, and crowded backgrounds can add hours even when the canvas is small.
A 20 × 20 cm canvas is not automatically easier than a 40 × 50 cm canvas. If the smaller version compresses the same design into tighter spaces, it may require more control. Examine the pattern and the size of its smallest sections before comparing the overall canvas dimensions.
Beginner Acrylic Painting Tips That Make a Difference
- Use two thin coats instead of one heavy coat. Thick acrylic paint can form ridges and cover nearby outlines.
- Allow corrections to dry first. Painting over wet acrylic tends to mix the old and new colors.
- Rinse the brush before paint dries near the ferrule. Dried paint at the metal base causes the bristles to spread.
- Turn the canvas when working on an awkward edge. A comfortable hand position gives better control than reaching across the painting.
- Check the painting from normal viewing distance. A small uneven edge that looks obvious from six inches away may disappear once the picture is on a wall.
- Work in good daylight or neutral white light. Warm, dim lighting makes pale outlines and similar colors harder to distinguish.
Common First-Painting Mistakes
Choosing a Detailed Subject Because the Finished Image Looks Impressive
Fine hair, realistic eyes, crowded streets, and intricate buildings demand careful proportions. Begin with a subject that can be recognized from its main silhouette. You can add complexity to the next project.
Adding Too Much Water to Acrylic Paint
A damp brush improves movement, but a wet brush can make the paint transparent and difficult to control. Remove excess water on a cloth before touching the paint.
Trying to Fix Wet Paint
If a color crosses an edge, let it dry. Most acrylic mistakes are easier to cover with a clean second layer than to wipe away while wet.
Using the Smallest Brush for Everything
A fine brush is useful near edges, but it leaves streaks across broad areas. Fill open sections with a larger flat or round brush and switch to the fine brush only where the space narrows.
Frequently Asked Questions
What is the easiest thing to paint for a beginner?
A two-color sunset with a dark foreground silhouette is one of the easiest first paintings. It requires no precise drawing and gives you a chance to practice blending, coverage, and layering.
Is acrylic paint suitable for a first painting?
Yes. Acrylic paint can be cleaned with water while wet, dries faster than oil paint, and allows mistakes to be covered after the surface has dried. Thin layers may feel dry within 10 to 20 minutes, although temperature, humidity, and paint thickness affect the timing.
What size canvas should a beginner use?
An 8 × 10 or 9 × 12-inch surface is convenient for a short freehand project. For paint by numbers, inspect the amount of fine detail instead of choosing by dimensions alone. Larger printed sections are more important than a small overall canvas.
How many paint colors should I use?
Three to six colors are enough for a first freehand painting. A limited palette makes color decisions easier and reduces the amount of mixing. Numbered kits may contain more colors because the shades are already selected and assigned to specific sections.
Can I paint if I cannot draw?
Yes. Abstract patterns, silhouettes, flowers, and simple landscapes require only basic shapes. You can lightly trace a reference, use painter’s tape for straight lines, or start with a pre-outlined numbered canvas.
Should I Paint the Background or Main Subject First?
Paint broad background areas first when the subject has a clear outline. Let the background dry before adding the main shape. Small highlights, narrow lines, and corrections should come last.
Choose Your First Project
For a short first session, try a sunset, mountain silhouette, geometric pattern, or single flower. These subjects can be completed on a small surface without complicated drawing. Choose a limited palette, keep the first layer thin, and allow the paint to dry before correcting an edge.
If you want to paint a personal subject without drawing it by hand, custom paint by numbers can turn a favorite photo into a pre-outlined canvas with matching paints. A clear, well-lit image with one main subject is the most manageable choice for a first custom project.